- Total467
- Facebook191
- Pinterest269
- Email7
Do you ever worry that your images aren’t as tack-sharp as you’d like them to be?
It’s disappointing to come home from a shoot and realize that your images are a little soft. But it's even more devastating when you realize that you only have a handful of decent images to show your clients.
If there is one piece of gear you can count on to help you get the kind of images that are crisp, clear and ‘all-round-amazing!’…
Humble tripod.
You know that thing with the three legs that you brought home from the store and promptly chucked in your closet? Yes, that thing!
Let's look at some situations when (and why!) using a tripod makes a huge difference in the quality of your images.
#1 Shooting at Shutter Speeds Below 1/60″
You say you have some fancy tricks to shoot steady at slower shutter speeds without a tripod, like bracing yourself against a building and holding your breath as you press the shutter release?
Trust me, I’ve been there, done that and bought the blue v-neck t-shirt.
While there will be times when you have no other choice but to put yourself through a few contortions to get a decent shot, it’s a heckuva lot easier just to put your camera on a tripod before you start your session.
Yes, you can use a few tricks to shoot at shutter speeds below 1/60″, but at some point you're going to have to breathe.
And if you’re shooting in low-light conditions, you couldn't possibly hold your breath long enough for a decent exposure (at least not without turning blue in the process!)
It's true that if you have a lens or camera with image stabilization, you can probably hand hold a few stops slower than 1/60″, but even it has its limitations.
If you're shooting at 1/60″ or slower, do yourself a favor.
Just get out your tripod.
#2 You Shoot with Long, Heavy Lenses

Sports or wildlife photographer?
No doubt you’re using extra long lenses in order to zoom in close on your subject.
The extra length adds a lot of weight to the lenses too. And that means they are even harder to hold steady without introducing camera shake.
I would never suggest hand holding these type of lenses unless your name happens to be Chuck Norris.
If you need to move around a lot and a tripod isn't practical, try using a monopod instead.
#3 When You Want to Avoid High ISO
In low light conditions, you'll often need to turn up your ISO in order to get a good exposure. (Increasing ISO makes your camera sensor more sensitive to light.)
Even though you can open up your aperture as wide as possible to let in more light, at some point the lens will max out. You’ll have no other choice but to increase your ISO to get a correct exposure in this case.
But when you turn up your ISO, you also risk introducing noise into your photo.
While you can eliminate a lot of noise in post-processing, it’s always better to keep your ISO turned down as low as possible.
Mounting your camera on a tripod helps you to reduce ISO because it also allows you to slow your shutter speed. (A slow shutter speed allows extra light to reach your camera's sensor and create a correct exposure even when your ISO is turned down. )
#4 Bracketing Your Photos
If you’re a landscape photographer, bracketing is a popular technique to get more detail out of the shadows and highlights.
The technique consists of taking three identical photos at different exposures, although taking as many as five isn't uncommon.
Typically, the first photo of the series is deliberately underexposed one stop, the second one correctly exposed and the third overexposed one stop.
Because you don’t want anything else to change even slightly until you’ve completed your bracketed shots, using a tripod to capture bracketed images is essential.
#5 Astrophotography and Other Long Exposures
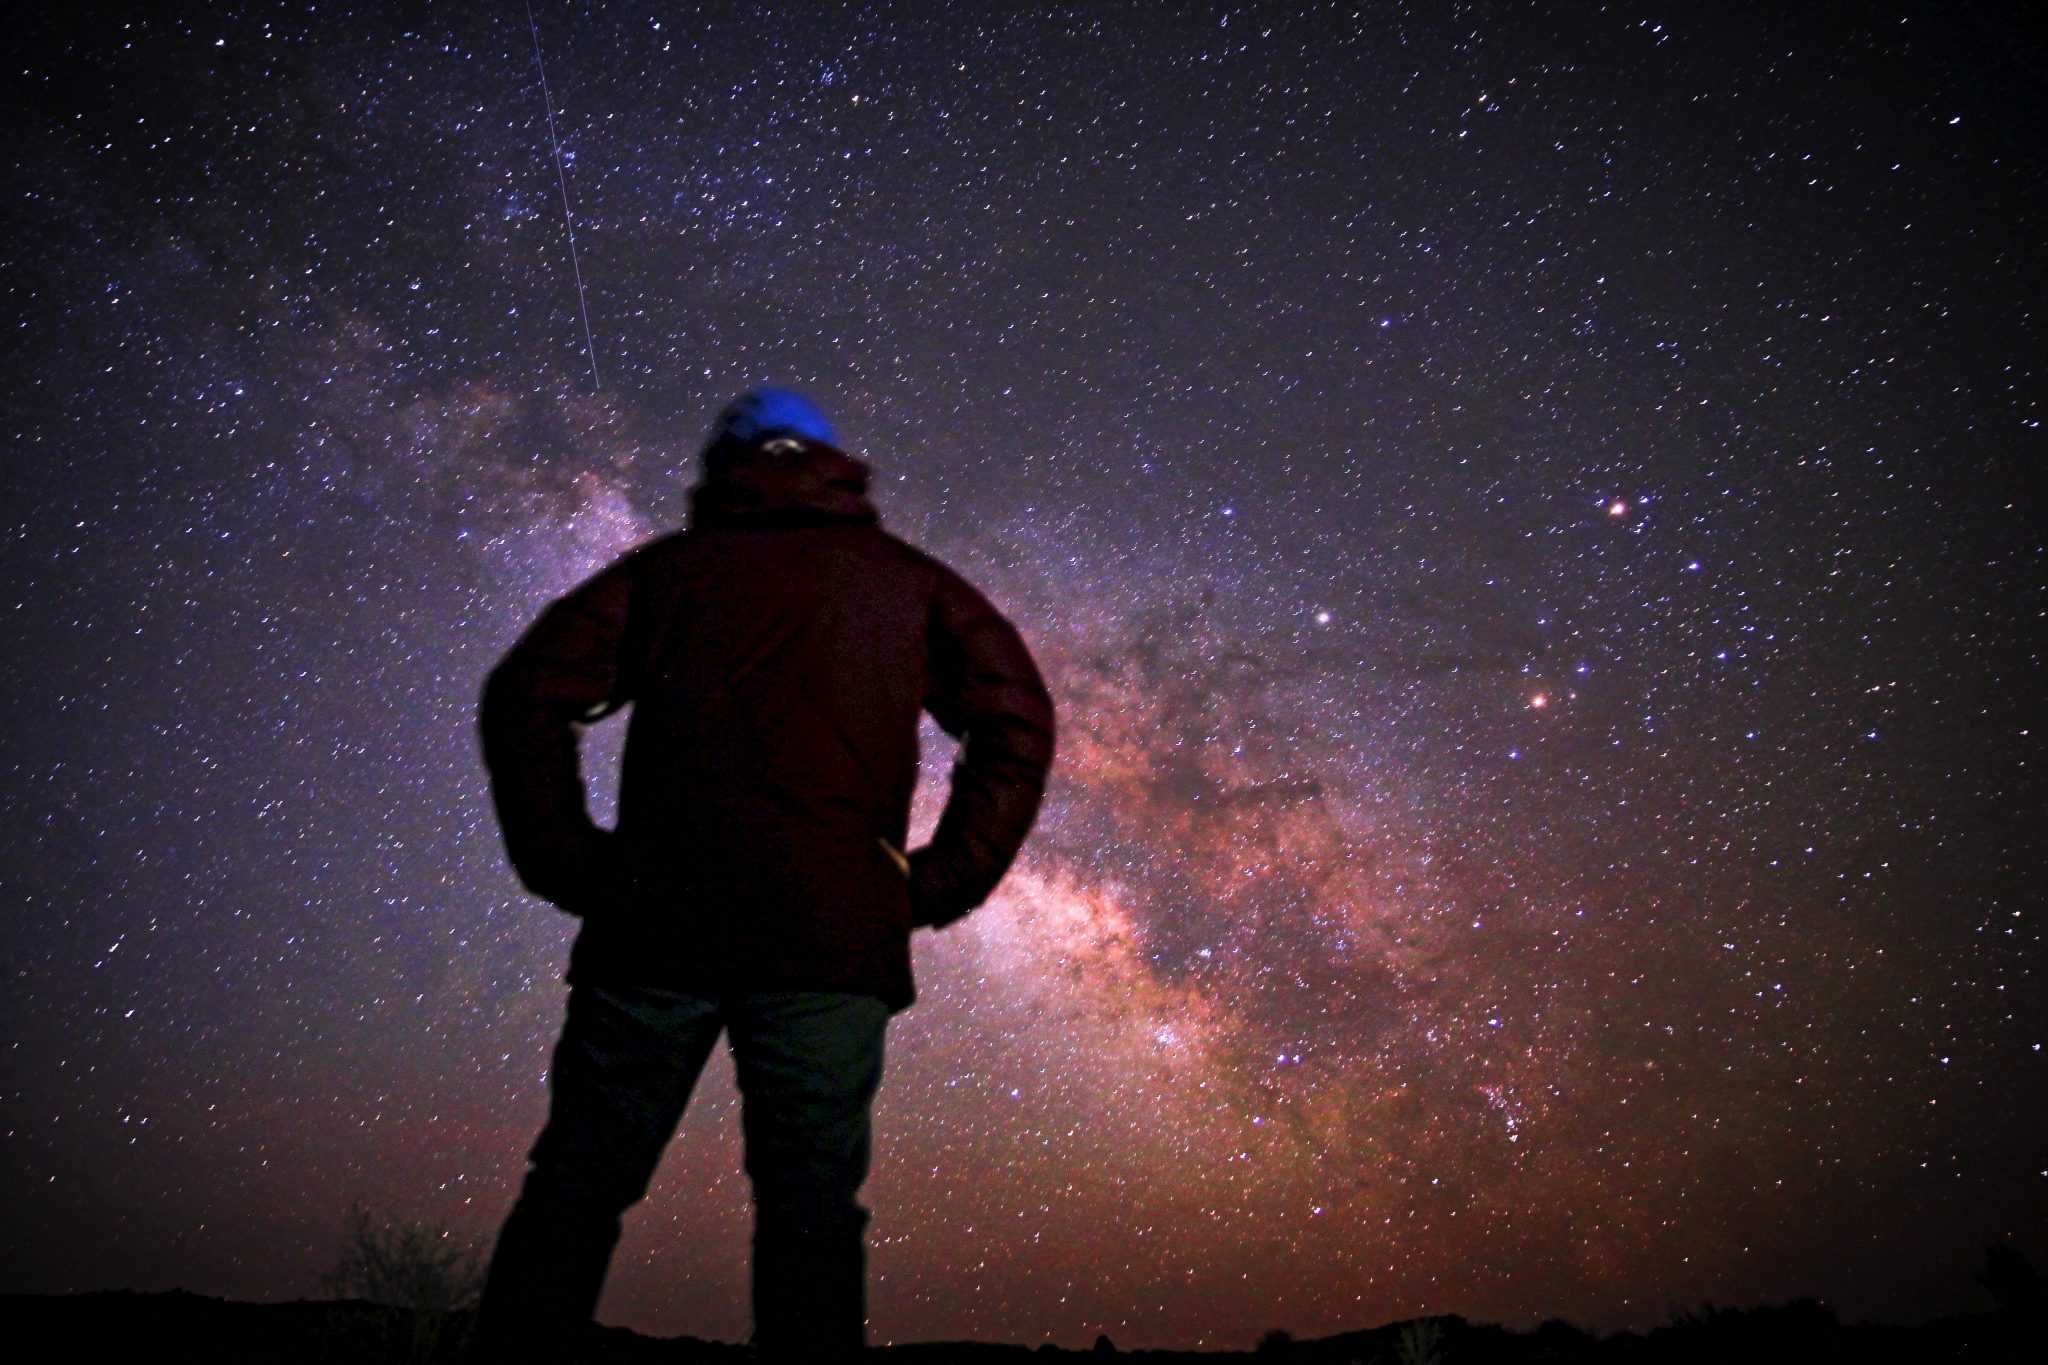
It all comes down to this:
a) Astrophotography consists of very long exposures, sometimes lasting for minutes.
b) You can’t hand-hold longer than 1/60″ 0f a second without introducing camera shake.
There is is no real alternative but use a tripod if you want to capture star trails and other types of astrophotography, such as photographing the Milky Way and photographing the moon.
In fact, any type of long exposure, such as capturing fireworks or showing motion in moving water calls for a tripod.
#6 – Creative Portraiture

While of course a tripod isn't necessary to capture a portrait, there are times when it will help you create a more unique photo.
The photo above is an example that shows a frozen subject with motion all around them to convey the hustle and bustle of a busy train station.
Another technique is uses a long exposure where your subject is still, but there is movement going on behind them. This is a lot of fun for parties like wedding receptions, or for a unique sports or dance portrait.
Now that we’ve explored a few scenarios where having your camera on a tripod makes a huge difference in your photos, let’s talk about how to set it up.
Best Practices for Using a Tripod
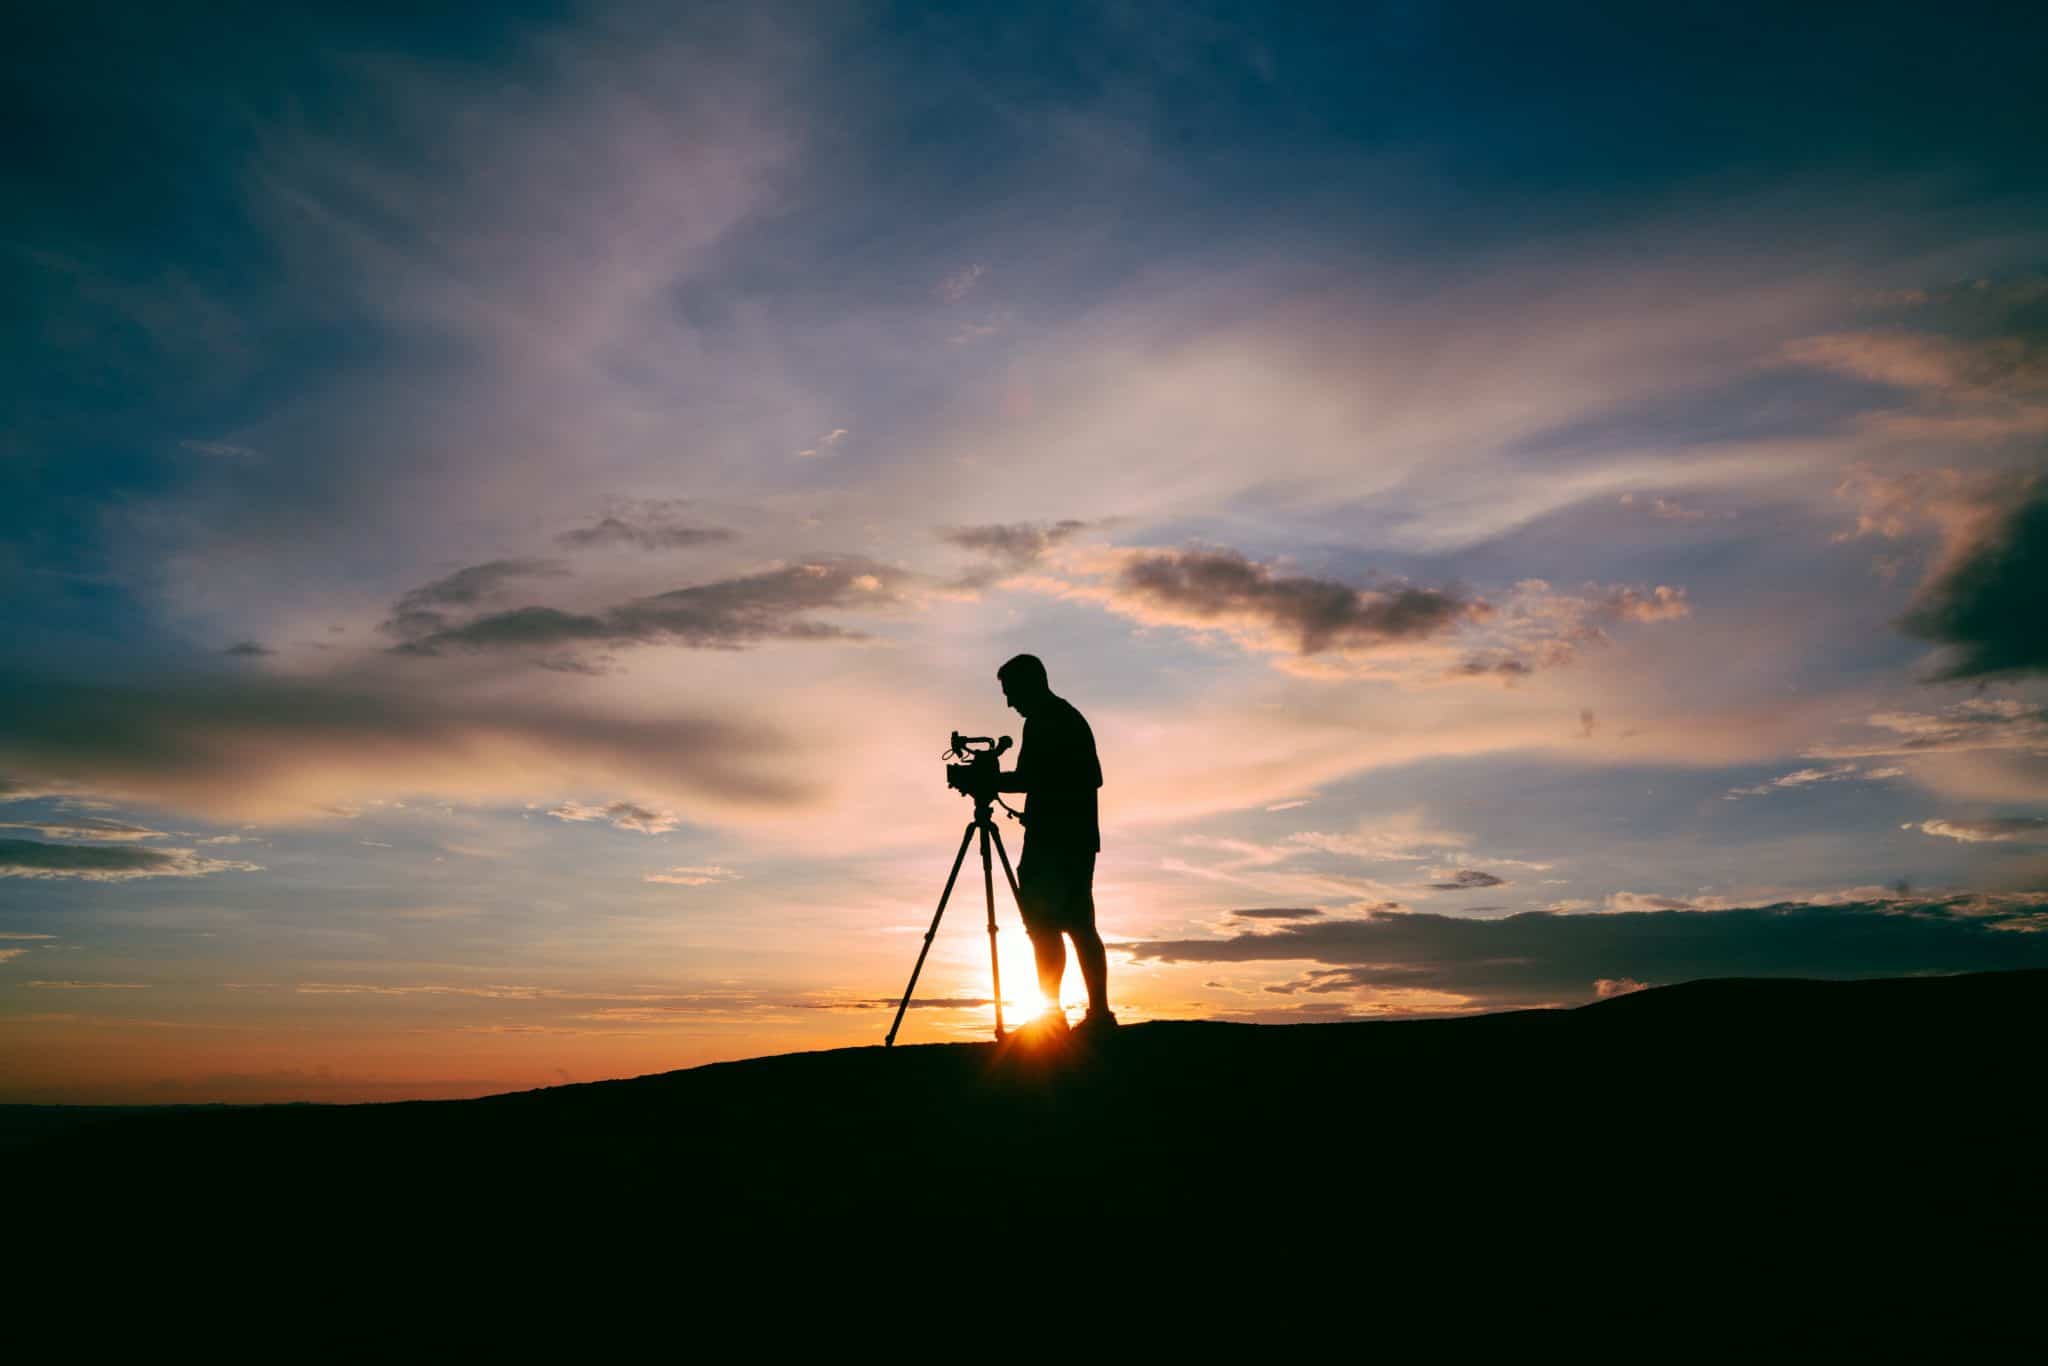
The most important rule for using a tripod is that the front leg of the tripod should be perpendicular with the lens of your camera.
This helps add stability to the heaviest part of your camera, and also gives you room to stand between the other tripod legs.
Don’t raise the center post more than absolutely necessary (or at all if you can help it.)
Raising the center post raises the odds that your tripod tip over, because the weight is no longer balanced over the front leg of the tripod.
Wiggle your tripod back and forth a bit to make sure its stable before you begin to attach your camera. If it still seems a bit ‘tippy’ see if the tripod has a little hook hanging from the bottom of the center column.
Hang your camera bag off this hook to weigh it down a bit and help stabilize it.
When you’re happy with the positioning and stability of the tripod, remove the base plate from the tripod and attach it to your camera. Hold your camera carefully as you lock the release bar.
Make sure your camera is secure before you remove your hands from it.
Next, choose your camera angle and lock it into position on the tripod with the locking screws.
Now you're ready for the last step, and that's to adjust your camera settings before you start your session.
Adjust Your Camera Settings for Tripod Use

It’s important to make some adjustments to your camera settings whenever you put it on a tripod.
First, make sure you have image stabilization/vibration reduction turned off.
While this feature helps prevent camera shake when you hand-hold your camera, it can actually introduce camera shake when the camera is mounted on a tripod. Image stabilization creates small movements meant to counteract camera shake. But when your camera is motionless on a tripod, the little movements from image stabilization can actually make camera shake worse!
Next, turn off auto ISO and reduce your ISO to the lowest setting possible. Because you’ll be able to create longer exposures when your not hand-holding your camera, you won’t need to turn up your ISO as much to freeze motion.
This is optional, but you may also want to lock up your DSLR’s mirror while it’s sitting on a tripod. The movement of your camera’s mirror as it raises and lowers to expose the sensor can also cause slight camera shake. The advantage of mirrorless cameras is that this isn’t a concern at all.
I hope that you enjoyed this post on how to use tripods.
Check out part two where I'll go into more detail about the different types of tripods and my recommendations.
Ready to “Show Your Camera Who's Boss?” In my free training, I'll help you take full control of your camera and end the guessing game.
- Total467
- Facebook191
- Pinterest269
- Email7





59 thoughts on “6 Times You Shouldn’t Go Without a Tripod”
Now I know why I had a shake in one of my photos!
Great article! I am amazed how many photographers today refuse to use a tripod because they feel it cramps their creativity. Sharp photos sell easier than soft focused creative photos from a hand held photographer.
This was very helpful! You’re the Best! Thank you.
Lee
Good review! Thank you.
You are an AMAZING teacher of Photography! Someday I’m going to be able to afford your online classes! I was doing pretty well doing Photography until my accident, now I can’t remember much of anything, I do get to go soon for treatmeants to try to restore some of my memory! I can’t wait! I admire you very much!
Thank you so much for your kind words Sheila! I’m so sorry to hear about your accident! I am wishing you the absolute best! 🙂
Thank you, David for such a great article with lots of tips on when to use a tripod! Can you please recommend a few tripods with different price points? And which ones are lighter than others as I know some are so heavy making that a burden to carry around.
Also, do you have base plates that you recommend for DSLR cameras (I use a Nikon D750) that make it easy to attach and detach? I see you doing this with ease in your videos and wondered what brand you used.
Many thanks!
Sarah Hunter
I use a tripod for most of my pictures, and I also use a single leg for when I’m in restricted areas.
Hi Sarah! I think this blog post will help: https://davidmolnar.com/what-kind-of-tripod-is-right-for-you/ 🙂
This was very informational, there are a few changes I will make to get my photos to come out sharper with use of a tripod.
I found this to be very helpful. Thank you. I’m getting a tripod soon!
I’m so happy to hear that Sylvia! You’re so welcome! 🙂
Excellent article. i found out which mistakes I was doing. Thank you David
You’re so welcome Liliana! So glad it was a help to you!
Do you have a tripod you recommend?
What tripod do you recommend?
Hey Carmen! Check out this blog post: https://davidmolnar.com/what-kind-of-tripod-is-right-for-you/ 🙂
I have an aluminum tripod I bought about 35 years ago. It worked great back then when I was using a film camera and did not really know what I was doing. Once I started using a DSLR camera I found that tripod was way too flimsy. I bought a gently used one that is much better quality and the difference is amazing. I’ve taken some photos of the moon and found that out of fifty I took about three that were decent and ended up with one pretty good shot. The big difference in the two tripods is the head on my new one. The aluminum head was hard to move and then to get it to stay in place. The new one is so much easier all around.
I am looking forward to Independence Day to shoot fireworks with my current set up. Wish me good skill.
Hi Dan! I’m so glad you are enjoying your new tripod. A great tripod can certainly make a huge difference! I hope you got some great firework shots! 🙂
Thanks David. Again your tips help
My pleasure Diane!!
Wow thanks David this really helps.
Thanks again David, I’m always learning new things from you and how to improve my picture taking. Now that I know the few things that I’ve been doing wrong I have to go try again. Thanks again.
It’s my pleasure Carrie! So glad to hear that!
So happy to hear that James! It’s my pleasure! 🙂
Thanks! This was very helpful!
You’re so very welcome Gretchen!!
Interesting topic. I learned a few things!
So glad to hear it Lynn! Thanks for stopping by!
Thank you. I always get some
Good info I can use from your expertise and sharing Thru your blog. Keep up the valuable work!
Thank YOU Amanda! I really appreciate that! 🙂
Thanks!!! That’s was great!!
You’re so welcome Eileen!
Very interesting! I’ll be waiting to see what type of tripod(s) you recommend as I’m sure there are good, better and best available. I think I’ve tested out the bad, worse and worst, so far. . .
Hi Judith! If you haven’t already checked it out, you can do so here: https://davidmolnar.com/what-kind-of-tripod-is-right-for-you/
Great ideas and very helpful
So glad you found it to be helpful Bj!
Awesome tips on tripods. I didn’t know many of these and I can’t wait to see Part 2. Thx 😀
So glad you enjoyed it Laura! If you haven’t already seen it, you can check it out here: https://davidmolnar.com/what-kind-of-tripod-is-right-for-you/
I absolutely love you videos and blogs. I learn so much from you.
Thank you,
Kimberly
I’m thrilled to hear that Kimberly! Thanks so much!
Thank you for all the help and suggestions about using tripods.
Information very helpful,David,Thanks
You’re very welcome Phyllis! So glad it was helpful to you!
Thank you for a great tutorial. I learned something new which is awesome.
My pleasure Melissa!
How do you lock up the DSLRs mirror while sitting on a tripod???
Hi Sue! The process would be generally the same as if you camera wasn’t on a tripod. 🙂
Thank you for this training. I especially enjoyed the Photographing the moon blog. You are a tremendous trainer, by making everything so simple to understand, for us beginners.
Thank you so much Delois! I really appreciate that! 🙂
Excellent article, David! Thanks!
So glad you liked it Georgianna! My pleasure!
I believe this article is very helpful I don’t own a tripod I will love to have one once I have my own camera ? someday
I hope you get your dream camera and tripod soon Yolanda! 🙂
Thank you! You have a gift of teaching in a way that is easy to understand. I have a tripod that I now plan to use more often. I am far from being a professional, but, I’m learning so much from your classes.
Thank you so much Karen! You’re too kind! 🙂
These tip are all good tips and find them every helpful. I looked at the one you recommended but a little out of my budget now. But when I can I sure will get the one you recommend. Thanks David and the team!
I’m so glad you found it to be helpful Elaine! You’re so welcome!
I am read the full article. I hope you continue to have valuable articles like this or more to share with everyone!
Thank you so much, Matt.