- Total460
- Facebook322
- Pinterest93
- Email45
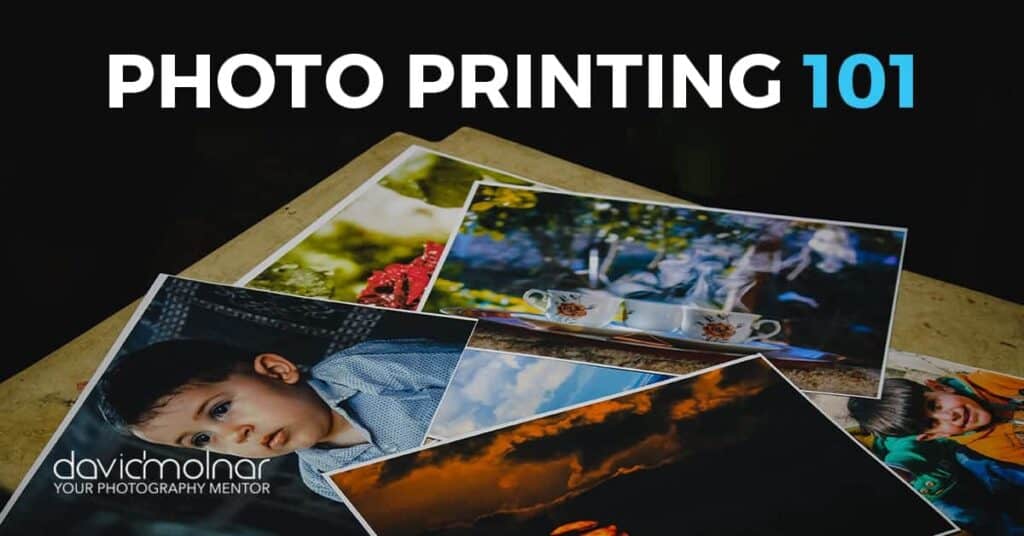
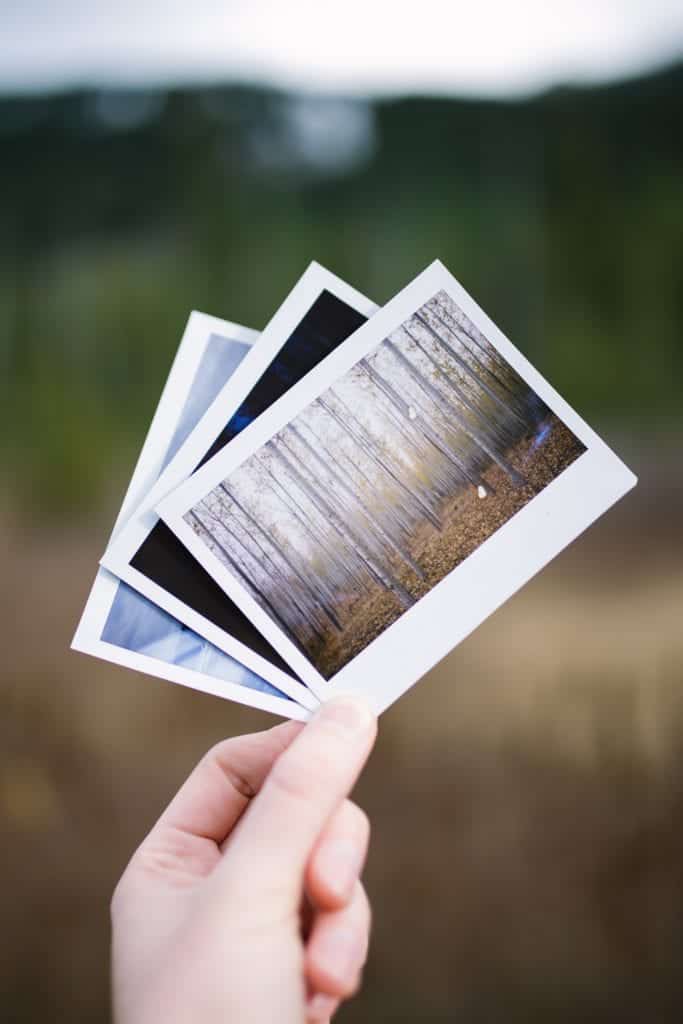
Photo Printing 101
“You're not finished with your photo until it’s printed.”
Or at least, that’s the unspoken rule among professional photographers. But why? This is the digital age. Many of us like the convenience of taking photos and sharing them. These days, we almost never see a photo that’s not on a screen.
Since the photography process is otherwise digital, why should we print our photos? And how do we move from high-quality digital, to high-quality physical?
Why print?
Photographers should print their photos because…:
…Screen outputs differ.
Have you ever been using an old computer and decided it was time for an upgrade? Remember turning on your new computer, and finding that your screen looked sharp, bright, and vivid?
That’s because monitors:
- lose quality over time
- have varied ways that they interpret and display colors
- vary in resolution
- are calibrated with different methods – including not at all.
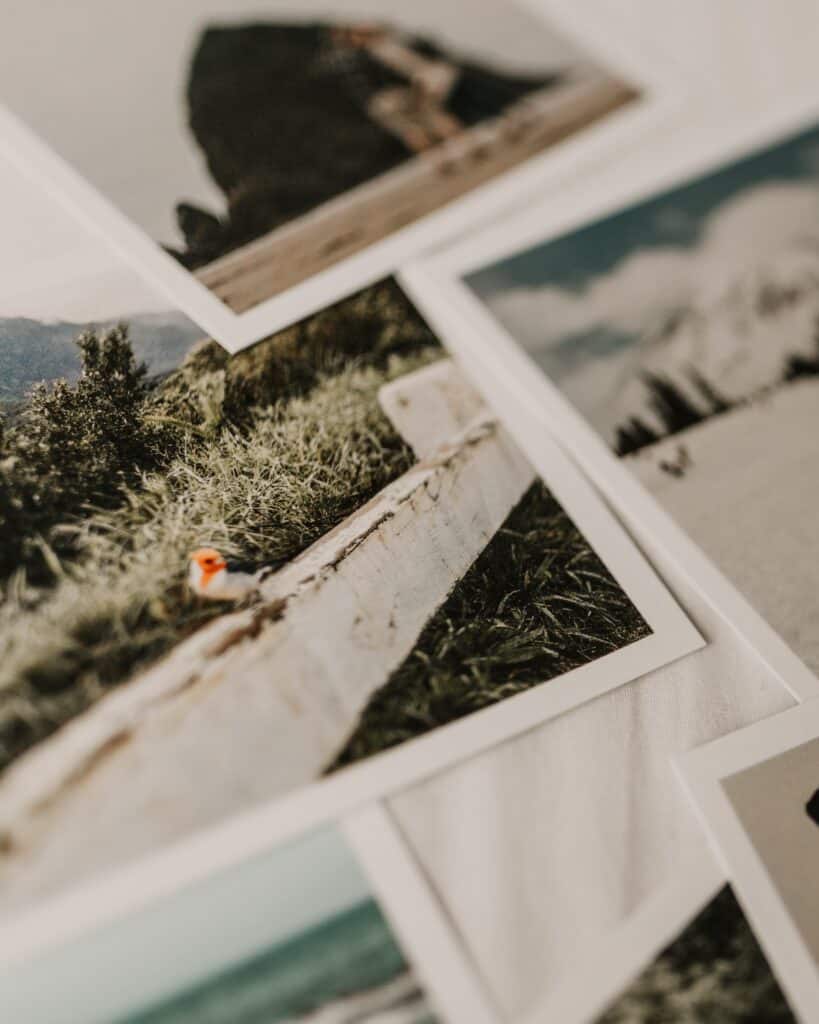
The beautiful photograph on your monitor looks different on the wide variety of screens out there. A print, however, is much more consistent.
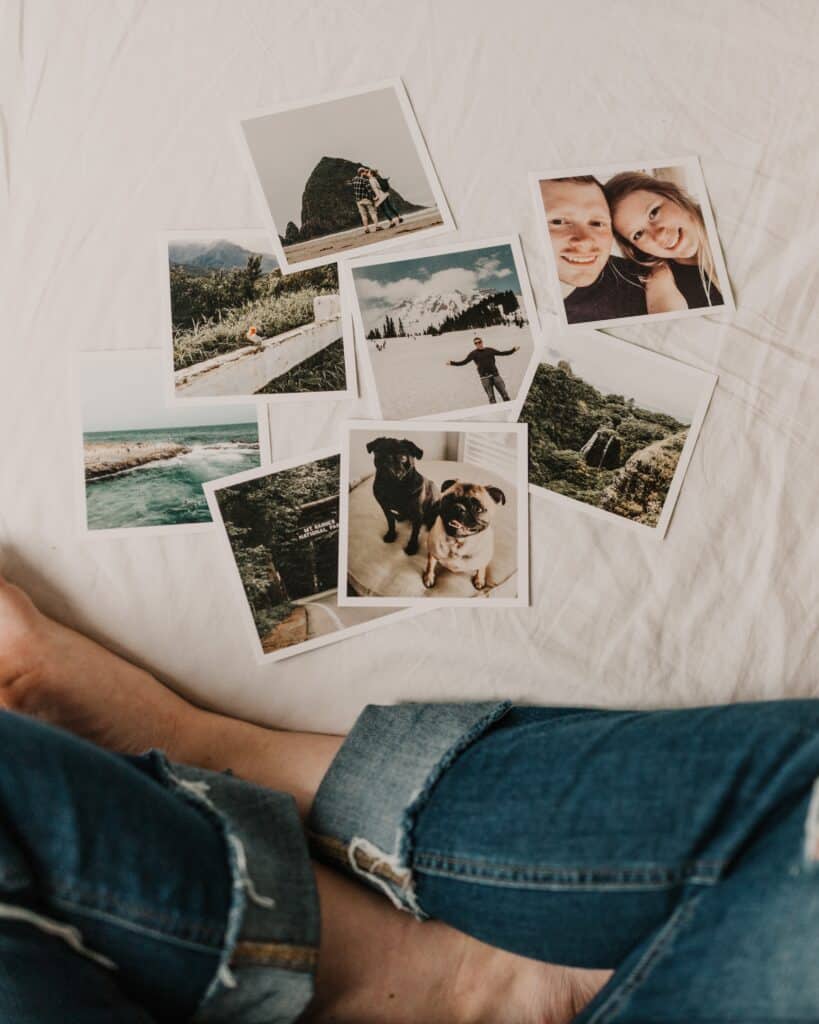
…Physical prints increase the viewer’s satisfaction and sense of value.
Digital media is consumable. Disposable. We can scroll through the National Geographic magazine on our phone, and the breathtaking photos seem somehow… mundane. Even skippable.
Physical objects convey permanence, completeness, and value. A person walks through a gallery “consuming” each photo at a fraction of the pace we scroll on our phones at. Prints just seem to merit our time and consideration in a way that digital photos do not.
…They pursue mastery in their craft.
It is both fun and rewarding to learn to take excellent photos, but there’s something rewarding to hold the product of our work. Our efforts have produced something demonstrable. We are completing our knowledge set. You wouldn’t do 3.9 years of college and walk away without achieving your degree. Printing your photo is like your photography thesis and your degree combined. Maybe even framed on the wall.
Basics
There is a very broad range in printed photography quality. A photo from a newspaper is far from archival quality, and a photo on a billboard needs different attention than the 5×7 on your desk does.
Just as Organic Chemistry drops more doctorate hopefuls than any other class, the finer points of printing can make even a seasoned photographer throw their hands up in exasperation.
Printing a photo has a range of outcomes, all of which depend on your level of expertise, desired quality, and the purpose of the photo.
Most of us can click “Print” and then “Ok” and end up with a physical photo in hand. That’s the easy part. On the other end of the spectrum, preparing a photo for print is a bit complicated. In this article, we’ll cover “Photo Printing 101.” Our goal is to get your photos from “pretty good” to “wow,” with just a few easy steps.
Starting at the beginning
A good print starts when you press the shutter button to take the shot.
The techniques listed in the following section are useful for photos you’ve already taken. But if you want to print regularly, let’s start off with new habits. In the future, it will be much easier to prepare your photos for print by following these guidelines.
- First, shoot in RAW. Almost every camera above the most basic point-and-shoot models can save your images in RAW format, rather than just jpeg. Even your cell phone can take a RAW photo with the Lightroom mobile app, or rather, save it as an equivalent, a DNG file .
- Think of RAW as a digital negative. It’s your original, unaltered image that contains all the data captured by your camera’s sensor. If you shoot in jpeg, your camera analyzes and compresses that data to create files that take up significantly less space on your memory card. This sounds like it would be a good thing, but it isn’t. A smaller file means less information, and less information means less quality.
- Second, make a backup of your untouched RAW photos. Any time you want to edit your photos for a new use, always edit a copy of your original, not the original itself.
- Third, do your edits in RAW. Adobe Lightroom (and many other photo editing applications) will make high quality adjustments to your photos, just like darkrooms in the days of 35mm film photography. Doing those same edits on a jpeg (or any other compressed file) will yield lower quality results.
- Fourth, save your edits as a new file. A jpeg is the industry standard for most uses, and even high-end print labs will accept them. Once your edits are complete, save your file as a jpeg, as it’s the format preferred by most labs. Various media outlets like magazines and newspapers often prefer a different file format (usually a TIFF file.) The specific edits you do, and the format you save your photo in depends on its intended use. For now, jpegs are fine. Since you’re starting with a RAW file, you can determine what resolution your jpeg should be. Use 300ppi (pixels per inch) as a general guideline.
These four steps will save you a lot of time and frustration in the long run. As far as practical photo editing techniques, it’s much easier than you may think.
Editing your photo
Your computer screen is mostly likely in sharp focus. The colors it renders are vibrant. Getting a photo to look good on your screen is easy. Getting it to look good on any screen is a bit trickier and getting it to look good on paper is a different animal.
In fact, once you’ve properly prepared a photo for print, it may look a bit strange on your screen. But that’s ok. That’s why you save different file formats of your photos – because while there are many, many settings to adjust for the highest quality print output, there are three in particular that almost every photo will need. The “Big Three” are Brighten, Sharpen, and Proofing.
- Brighten
Printed images need brightening from what you see on screen. In part, this is because your screen is its own light source, whereas a photo print needs external light. They calibrate most monitors to be as bright as they can be, which artificially “illuminates” your image. Brightening your image before printing makes sure the outcome is as close to what you see on the monitor as possible.- In Photoshop CC, open the photo you want to print. Add a new adjustment layer by selecting Layer, New Adjustment Layer, Brightness/Contrast. Move the Brightness slider to +20. (As you get more familiar with this step, try a Curves Adjustment Layer rather than a Brightness/Contrast Layer. It will give you a finer degree of control.)
- Sharpen
Even if your image is in good, crisp focus, you’ll still want to do a bit of extra sharpening before you print your photo. When inks and dyes hit your printing paper, they can blend a bit before they dry. Some extra sharpening (a little beyond what looks right on your screen) can help your images end up looking natural and sharp when applied to paper.- In Photoshop CC, with your photo open, select the topmost complete layer. Make sure this is not an adjustment layer, or a layer with a mask. Click on Filter, Sharpen, then Smart Sharpen. Set the Amount to around 80% and the Radius to 1.0 pixel.
- Proofing
A “proof” is a test print. Printers handle color in a different way than computer screens do, so do a test print prior to your final print. If you intend to print your photos for a public showing (whether for a client or in a gallery) do a Hard Proof to be sure of the final result. If you are printing photos for your own use, or to experiment and get familiar with different printers and color spaces, a Soft Proof works just fine.
- Soft Proofing
A Soft Proof is a way to simulate on your screen what your printed photo will look like under a set of circumstances (on X brand of printer, with Y color space settings, etc). You can do this with Photoshop and Lightroom once you’ve tried out a bit of Brightening and Sharpening, to get an idea of what you’re likely to see in an actual print.- In Photoshop CC, select View, Proof Setup, then Custom. For the “Device to simulate” choose Adobe RGB (which is the color space used by most printers). For the “Rendering Intent,” choose Perceptual. Check the “Black Point Compensation” box. Click “OK.” Your image will now be a very good approximation of what you can expect your print to look like.
- Hard Proofing
A Hard Proof is a physical test print. You’ll want to send off a “test set” to your professional print lab when you’re getting ready for any kind of public showing. (More on print labs in the next section.)
Give yourself enough time to try again with another set if you don’t like the output. Once you’re familiar with the process, you won’t need to do hard proofs for EVERY showing – you’ll only need to do it once-in-a-while. And only if your next set of photos differ significantly from the first. For example, if I do a show one month of wildlife, the subject in each photo should be bright and very sharp. If the next month I do a series of spooky Black and Whites, leaving them a bit darker and in softer focus would be just fine. The edits depend on the purpose and subject of the photos.
Printing
If all you want is an 8×10 or two, get to know your home printer. See what it’s capable of with a test print on photo paper. Try the prescribed techniques we’ve covered here, and keep an eye out for our “Photo Printing 201” article, where we’ll discuss color spaces and printer profiles in more depth. It might surprise you what you can accomplish right at home!
Pro Tip: Future courses on Photo Printing will also cover preparing your photos for newspapers and magazines, resizing photos, photo resolution vs print resolution, more advanced photo edits, and much more.
For higher quality photos, larger sizes, higher print volume, and for printing on different substrates (such as prints on metal, canvas, and even wood) we suggest choosing a professional print lab. These are a few of my favorites:
- Bay Photo https://bayphoto.com
- ProDPI https://www.prodpi.com
- White House Custom Color https://www.whcc.com
- Miller’s Professional Imaging https://www.millerslab.com/home
- SmugMug https://www.smugmug.com/
- Canvas Pop https://www.canvaspop.com/
- Minted https://www.minted.com/
Conclusion
Congratulations! You’ve completed Photo Printing 101! There is plenty more to learn, but you’re off to a great start. These habits and techniques will dramatically improve your photo prints. You will be even happier to have them proudly displayed on the wall!
Keep an eye out for our next Photo Printing courses, coming soon.
- Total460
- Facebook322
- Pinterest93
- Email45


38 thoughts on “Photo Printing 101”
Can you do the adjustments in light room catch up to get the photograph ready for printing? Catch I am not having any luck using Photoshop layers.
Hi Marta! I’m sorry but I don’t fully understand your question. Can you clarify for me?
I think she is asking the same question I have. You mentioned how to brighten and sharpen in Photoshop, I do almost all of my editing in Lightroom. Is there a way to do the brightening and sharpening in Lightroom. I’m pretty sure they have these adjustments. But they don’t have layers that I’m aware of.
Hi Kerry! Yes you can! Lightroom just doesn’t have layers like Photoshop does but you can adjust the sliders in Lightroom to brighten and sharpen. 🙂
Great info! Thanks for sharing
My pleasure Elaine!
I would love more info on the right sizes for printing .. Some times I can’t seem to get the entire image in the print and I could use help with that
I will add that to my list of topics to cover. 🙂
Thank you so much for covering this topic. I now know what to do to achieve better print quality. I appreciate the time and work you put into this!
My pleasure Penelope!
Very informative….thank you so much; I do alot!! of printing at home.
Happy to help Debbie!
Great info. Thanks for the names of print shops for those special shots. Look forward to your next blog.
Happy to help Susan! Thanks for stopping by!
Thanks for your blog! Your instructions are using Photoshop CC and I use LR classic. How will those instructions vary with LR classic?
Also, when I crop photos and then send them to print (ex. to costco for 4 X 6’s), I find that I have to crop them on their website in order to print. Is there a step that I am missing in LR that would prevent me from having to crop again?
I have made note of the interest for a Lightroom printing blog post. 🙂 It is very similar but may look slightly different.
I would make sure to look at your aspect ratio and make sure you’re cropping to a 3:2 aspect ratio. Also, every printer has bleed differences so it’s always a good idea to check that the crop is what you want prior to printing, even if you’ve cropped prior.
It would be helpful for some of us if you would include a “print” icon. I have done the cut & paste routine but being able to print right from your article would be very helpful. Thanks
Thank you for the feedback Susie!
Hi David, I often want to send digital copies to clients as a marketing to place order or share (word of mouth marketing) but I need them to be small enough “not to be printable” but visible to attract order and choose. Is there resizing or any option you can advise on?
Kind regards;
Ishmael
Hi Ishmael! I would recommend to size your photos somewhere between 600 x 600 pixels and 1024 x 768 pixels. This will allow your photos to look fine when viewing but would make them more difficult to print. Anything above 1500 pixels is much easier to print. Also, adding your watermark to your photos will help cut down on people trying to print them as well!
Great info David, thank you so much.
My pleasure Jennie!
What Marta means is most of us are using LR…so can you explain it how to do all of this in LR and not Photoshop?
Hi Dolly! The process in Lightroom is very similar but just may look slightly different. I will make note of the interest in a Lightroom Printing blog post as well 🙂
Are you suppose to crop or resize first? I heard both ways?
Crop first then resize.
Resize first then crop.
I’m sooooo confused! 😅
Hi Vickie! It is recommend to resize first and then crop second that way your photo is the appropriate size when you go to get the desired crop. 🙂
Hi,
Happy to see an article on this. I have printed a lot of photos through mpix the last few months — which I believe is the Miller’s company you listed above, correct? Since I do so many macros, along with some landscapes, I asked mpix in their chat for advice on printing. I was told giclee prints would work well, and they have been turning out great. I need to learn from you more about re-sizing. One problem I had was that I was using my pictures that I only edit in LR and upload to mpix as jpegs. My metadata signature already on the jpegs would get cut off in mpix for the 4×6 prints and some other prints. Need workflow advice on that for sure!
Thank you so much,
Amy Lee
Hi Amy Lee,
Miller’s Lab has three different labs, Miller’s, Mpix and Mpix Pro. In 2003, Miller’s launched Mpix, a fully web-based digital imaging lab to service both emerging professionals and photo enthusiasts. In 2009, MpixPro was launched, catering to single-studio photographers looking for price savings and simplicity. Miller’s Professional Imaging continues to support established photographers with a full service one-stop business model. Just thought I would clarify.
If something is being cutoff, it’s because you’re trying to print at a different aspect ratio than the one that the image is in. Setting the aspect ratio is NOT the same as resizing. In LR, the crop tool can be forced to keep a certain aspect ratio, or you can turn it loose and freehand crop. Just understand that a freehand crop may not fit a standard print size.
When I did this and tried to upload to a photo printing place online the photo look totally different than what it look like on my computer screen. The colors are way off. Why is this happening?
Hi Corinna! You may need to calibrate your monitor to ensure colors are showing properly. It’s also important to check the specifications for printing because each printer is different. 🙂
Another reason may be that you still have the auto-correct *feature* activated in the online uploader. TURN IT OFF! Plus, make sure you’re using a reputable lab, not a ‘drugstore’. Costco and Sam’s do a really good job, as they use the same printers as the ‘big guys’, and their techs tend to stay around for a while. The one at the Costco I use for personal stuff has been printing for over 20 years.
David, I am new to all this . What I need to know is do I have to purchase Photoshop install on my computer and do I have to purchase Lightroom and install on my computer in order to use all these presets I have been reading about or can I just buy one of these. Is it necessary to have both or can I just buy 1. Im so confused. Plus if I have to buy can I put them on desktop and laptop or should I just use one of these??
Pat, some people use both Lightroom and Photoshop for their editing. I primarily use Lightroom. We have presets for both. I would recommend starting with Lightroom and installing presets there for your editing, as you begin your editing journey.
PLEASE stop perpetuating the ‘300 dpi’ myth!
Or the ’72 dpi’ for digital display!
A digital file has NO ‘dpi’.
Only prints do.
The best way is to NOT resize any image headed for a printer, whether your own or a commercial lab.
Hi Walter! These are not myths. I feel it is a good general rule to follow for some. It’s basic and will still provide good print images. Of course, if you have the storage space and make the decision (as the photographer) to save it higher, then that’s fine. People should not go lower than suggested in the article, however.
If you are displaying your photos online for purchase, do you make 1 image for online display and prepare a different version of image to send to printer? I want to make sure the picture the buyer can see online (which is why they like it and making purchase) matches what they receive from the printer.
Bay Photo . Right now the prints are coming out dark.
Kerry, if your clients are looking at images online to select for purchase, you do want to make them as close as possible to what would be printed out. Online quality isn’t always as high as printed quality. I’m also not sure what platform you are using to show your clients their photos, but some platforms really mess up an image. Research and find out what platform will deliver an online image close to the printed image.