- Total1.5K
- Facebook469
- Pinterest1.0K
- Email46
Why Golden Hour Photography Rocks

Overview
For photographers, the time of day just after sunrise and before sunset is the ‘Golden Hour.”
The sky takes on beautiful yellow, red, and orange hues as the sun nears the horizon. The light becomes softer, shadows and highlights are less pronounced, which flatters models and landscapes alike.
At sunrise/sunset, the low angle of the sun causes tiny particles and water droplets in the atmosphere to scatter shorter wavelengths of colors like blue and violet, leaving only golden tones visible.

And this perfect soft golden light is why…
Photographers Love Golden Hour So Much!
Honestly, what’s not to love?
The diffused light from the low angle of the sun is ideal for both portraits and landscapes.
By positioning your subject carefully with the sun directly behind them, you can capture perfectly backlit photos, or capture rim light to outline your subject with a golden glow.
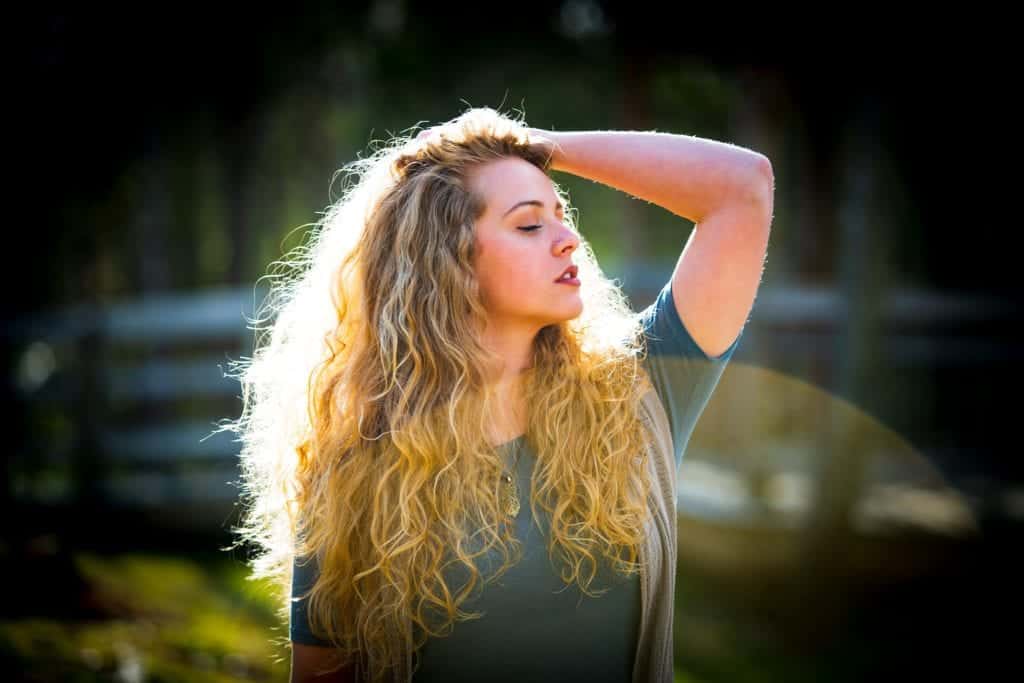
Another option is to light your subject from the side. You can even light your model from the front, facing into the sun, which isn’t possible with natural light any other time of day (squinting into the bright sun isn’t a good look on anyone!)

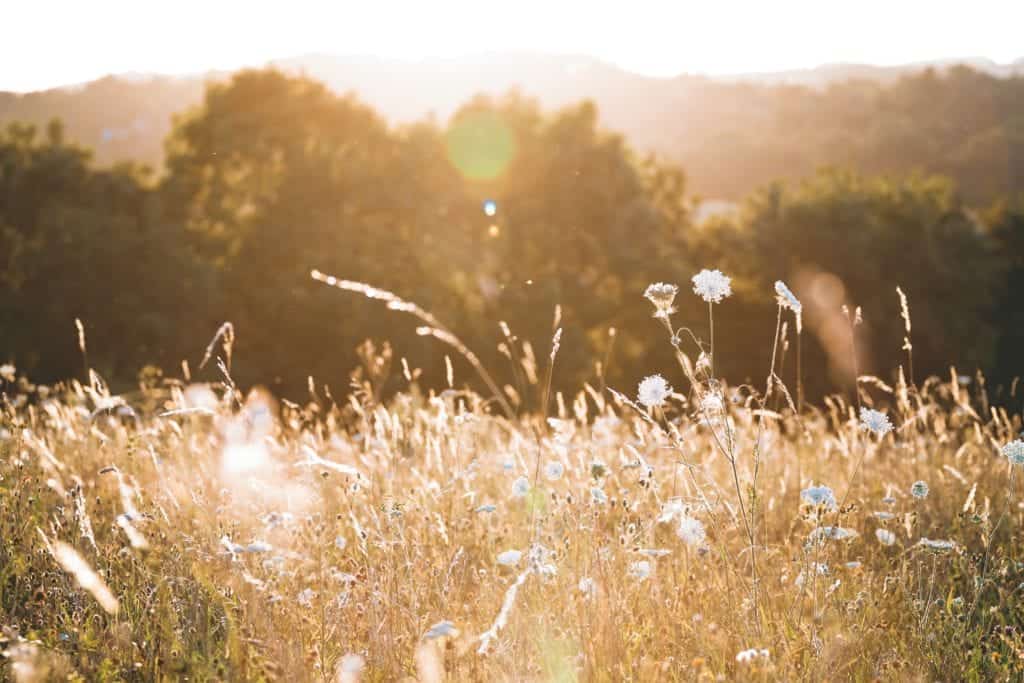
If you’re a landscape photographer, the long shadows during this time of day add extra drama to your landscapes and cityscapes.

But despite all the great things about shooting at Golden Hour, it poses a few challenges too. Here’s how to get your camera ready for this remarkable time of day.
What Settings Should I Choose for Golden Hour?
Here’s my best piece of advice: shoot in Manual mode during Golden Hour, because lighting conditions change fast!
As the sun rises/drops below the horizon, you must make quick adjustments to your settings. When the light fades, your camera will have trouble keeping in AUTO mode (or as I like to call it, devil mode!) In fact, using AUTO mode in any low-light situation is a recipe for blurry, disappointing photos.
Or if you haven’t mastered Manual mode yet, try aperture priority (your camera will adjust the ISO and shutter speed for you in this mode.)
What aperture should you use? That depends on if you want to capture more detail in the sky, or on a specific subject. If you’re after detail in the sky, try the landscape photographer’s go-to settings from f8-f11.
If you’re working with a model, try a wide aperture like f2.8 to get some golden bokeh in the background of your photo. You may need to bump up your ISO a bit as the sun goes down.
Avoid using AUTO white balance. If you leave your camera in AUTO white balance, it will attempt to neutralize the beautiful golden tones in your photo. Try the Shade or Cloudy settings instead, or if you prefer to shoot in Kelvin, set it at 3000-4000.
Golden Hour Tips for Landscape Photographers
If you’re shooting at the beach, you can capture the motion of the waves with a long exposure. But to pull it off, you need to have your camera on a tripod. There’s no way mere mortals can handhold a camera steady enough for the seconds it takes to create a long exposure.
Whenever you shoot at shutter speeds of 1/60” and below, make a tripod your best friend. Don’t forget to turn off image stabilization/vibration reduction because this feature can introduce camera shake when your camera is on a tripod.
You might also need to add a neutral density filter to your camera’s lens to capture a long exposure. A neutral density filter reduces the amount of light reaching your camera’s sensor, which allows you to have a longer exposure time.
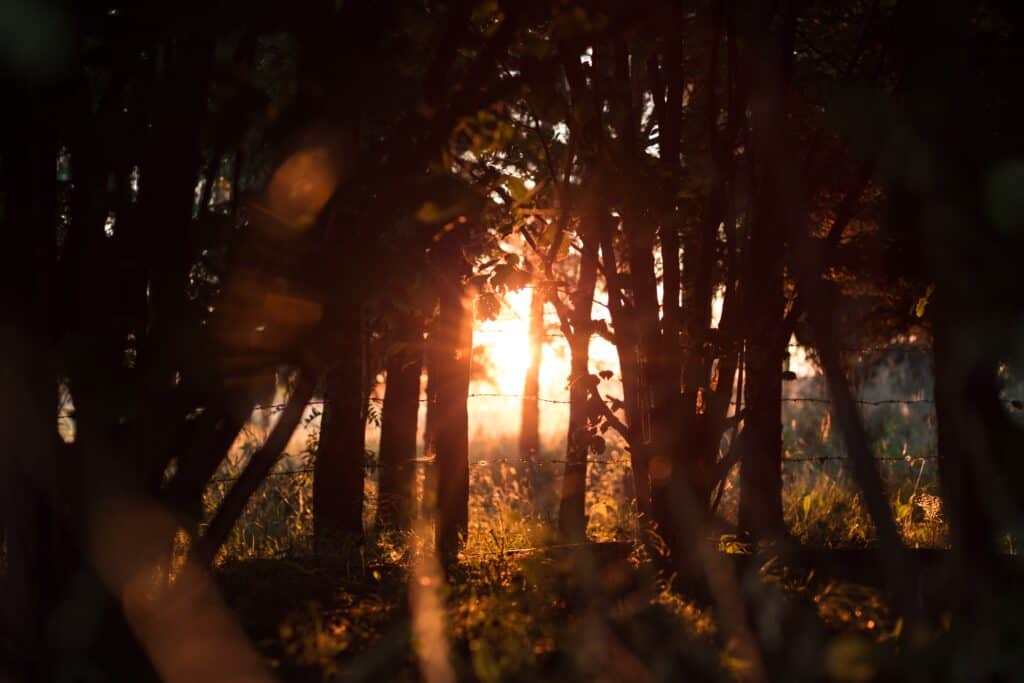
Portrait photographers often position their models to block the sun partially to avoid overexposure. You can do the same as a landscape photographer with trees, rocks and structures.
Another landscape photographer’s Golden Hour trick for better images is to bracket a series of images and blend them together in post-processing. If you’re not familiar with bracketing, it means to take a series of identical photos, with one or more underexposed, one correctly exposed, and one or more overexposed. In this way, bracketing helps you keep maximum detail in both the shadows and highlights.
For best results, shoot in RAW mode.
Lightroom makes fast work of blending your photos together using HDR merge. Note: you’ll want to sync the same develop settings to all photos in the bracketed series first, especially if you’re cropping, or applying lens distortion corrections.
To use this feature in Lightroom, select your photos in the filmstrip in the Develop module, then go to Photos > Photo Merge > HDR Merge.
Check the AUTO align and tone features. (You can make further adjustments to the merged photo by bringing it back to the Develop module.)
I don’t recommend using Deghosting. This feature removes any trace of objects that move from one point to another during the time you captured your bracketed shots.Deghosting sounds great in theory, but all too often it leaves ugly artifacts behind. Lightroom applies deghosting to your entire image, not to a specific problem region of it.
If you have objects that moved from one frame to the next in your series of bracketed photos, it’s better to remove these objects with the healing brush before you bring them into HDR merge.
Now that we’ve explored the landscape photographer’s Golden Hour tricks, let’s look at why portrait photographers love to shoot at Golden Hour too.
Golden Hour is a Portrait Photographer’s Dream
My best tip for portrait photographers during Golden Hour is to move around and try lots of different angles! You don’t have to worry about your model getting ‘raccoon eyes’ from harsh overhead light, or force them to squint into the sun.
I like to shoot in RAW format and underexpose by a stop or two during Golden Hour. When your photos get overexposed, it’s impossible to get that detail back. When you import your photos into Lightroom, it’s so easy to tweak the exposure to perfection. Plus, underexposing slightly helps you retain the full vibrancy of the Golden Hour in your images.
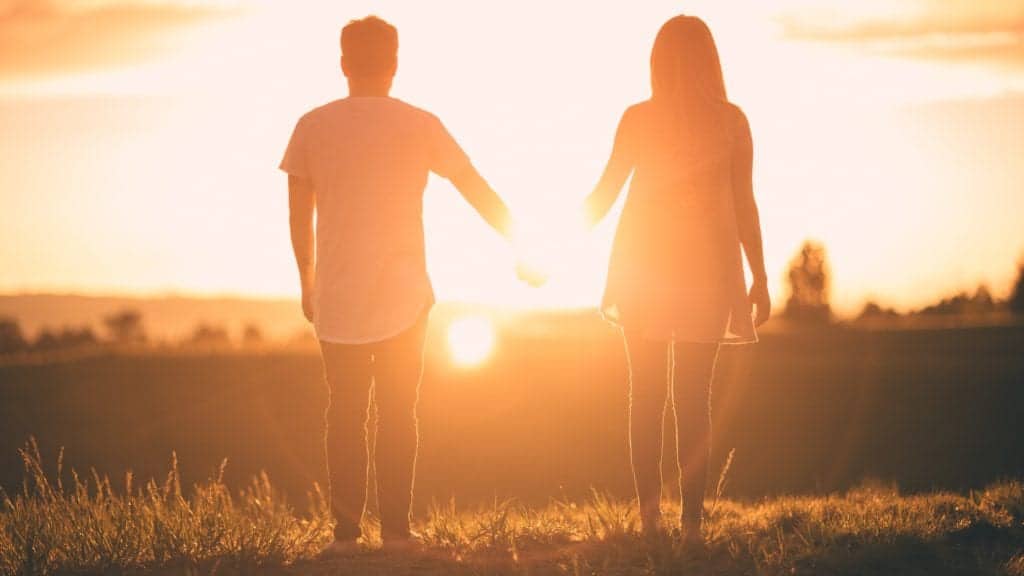
You might also like to experiment with silhouettes, because they are so dramatic! Just place your model between your camera and the sun, and meter off the sky.
If you’re trying to avoid silhouettes, then switch to spot metering and meter off your model’s face.
Another fun thing you can try is to introduce some sun flare into your photo.

During Golden Hour, the sun is at the optimal angle to introduce some dramatic sun flare into your images. If you have a lens hood on, remove it, because one of its fundamental purposes is to eliminate sun flare! Clean your lens to remove any smudges or streaks, because they’ll make your lens flare look terrible.
Use your hand to block the sun long enough to focus on your subject.
Position your model with their back to the sun and try several angles until you see light enter your eyepiece.
Lastly, always arrive at your location early, because the light changes fast! Consider going on a scouting trip ahead of your actual shoot so you know where you want to set up before you arrive.
And stick around after the sun goes down, because you don’t want to miss out on another magical time of day, the Blue Hour.

Don’t Pack Up Too Soon, or You’ll Miss It!
The Blue Hour is the magical time when the sky turns deep indigo blue just before the sun rises, or dips below the horizon after sunset. There is just enough light to capture stunning silhouettes. It’s also an incredible time of day to capture jaw-dropping landscapes and cityscapes.
As I’ve already mentioned, use a tripod, because you must leave the shutter open longer in low-light conditions. And if you try to shoot handheld, you’ll introduce camera shake in your Blue Hour photos.


That wraps up this post on Golden Hour photography. But before I go, here’s a little extra help.
Wondering how to know when Golden Hour happens in your location? A little help from technology makes it easy!
Bonus: How to Find Out the Exact Time Golden Hour Happens at Your Location
There are tons of apps out there to help photographers plan for golden hour shoots.
If you’re an iPhone user, there are several great apps to help you plan the perfect timing for your shoot. These Golden Hour apps include The Photographer’s Ephemeris, Magic Hour, Golden Hour One and Helios, Magic Hour Calculator, but there are many other incredible apps to choose from.
For those with Androids, choose from Golden Hour (by Simplaapliko), PhotoTime: Golden Hour Calculator, and the ever popular Photo Pills.
Good timing is important to see the Golden Hour in all its glory.
But there is something just as important as good timing is to a perfect Golden Hour photo.
And that's knowing how to edit your landscapes and portraits to perfection!
Join me for a FREE editing training session where I'll show you how to edit your Golden & Blue Hour Photos to perfection.
Click the image below to register.

- Total1.5K
- Facebook469
- Pinterest1.0K
- Email46


14 thoughts on “Why Golden Hour Photography Rocks!”
Great tips – I love the golden hour.
Golden hour brings so much to your photo. Such a beautiful light!
Awesome thanks
You’re very welcome, Corya!
Very informative.
Thank you so much, Alba!
I just love the golden hour .. beautiful pictures..
Many photographers favorite time to shoot is The Golden Hour. It is so hard to beat that light!
Great information David. Thank you so much. I am just now able to get back into using my camera looking forward to trying this.
Awesome thanks
Thank you so much! Incredible information!
You’re very welcome, Angie!
Thank you David! I will keep this information on my saved folder. I will probably go back a read it one more time. I just love each moment sunset, sunrise and that beautiful blue hour.
What a great idea! You’ll be able to review it again later. The blue hour is amazing!