- Total117
- Facebook111
- Pinterest6
- Email0
Take the Right Gear Along for a Better Trip

It is the worst feeling in the world to be at an epic location, with perfect weather, and at the perfect moment… without the right equipment. It has happened to me too often! I’d like to think I’ve learned from it.
After all, what’s the point of traveling to an exotic location like Bali without capturing an iconic photo? Traveling to the rainforest and not bringing home amazing wildlife photos? Or going to New York without shooting jaw-dropping cityscapes, architecture and street photos?
You’re here because you’re planning a trip and you have trouble deciding what camera gear to take along. You’re not the only one; knowing what to take isn’t easy.
There are just so many things you could pack! You don’t want to miss a once-in-a-lifetime shot just because you forgot to take a critical piece of gear. On the other hand, it’s no fun to lug a heavy backpack if you never use half the things inside.
Feeling overwhelmed and not sure where to start your vacation gear planning?
That’s why I created this list of 11 things to consider before you pack for your next photographic adventure!
1. Choose the Right Size Camera Bag
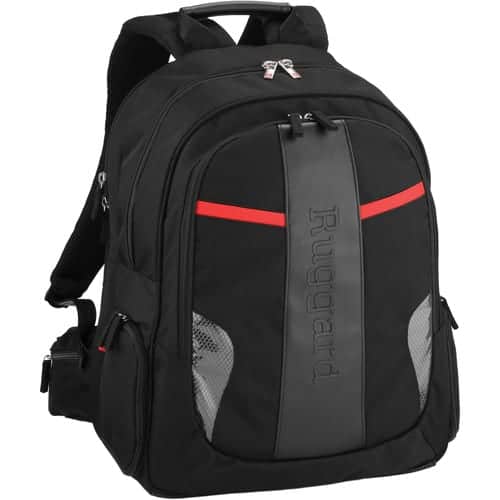
Are you going out for the day, or for a week? Do you need a big backpack, or can you get by with a small over-the-shoulder bag? Having the right size bag makes packing easier.
The key is to keep things as light as you can. It’s important to have everything organized. Clutter and over packing leads to bigger problems, such as losing or breaking key pieces of gear.
You don’t want to be the person who holds everyone up for 15 minutes looking for a spare battery in a disorganized gear bag.
Our friends from B & H Photo have a great selection of gear bags for you to choose from, no matter if you’re planning a week long trek in the mountains or a day at the beach.
Check out the gear bag options for B & H here: https://bhpho.to/2TYU2T8
2. Mirrorless Cameras vs DSLRs
Keeping things lightweight is the most important travel rule. When we compare the weight of a DSLRs to a mirrorless camera, mirrorless wins by a landslide.
And I feel that when you’re going on vacation, mirrorless has the edge in versatility, ease of use, functionality, and quality for the money. Another thing to remember is that mirrorless lenses are also much lighter.
In the market for a new mirrorless? I’m a huge fan of the Canon EOS-R, but the Sony Alpha a7III and Nikon Z6 are great mirrorless options too.
Note: If you'd like to learn more about the differences between DSLRs and mirrorless cameras, check out DSLRs vs. Mirrorless Cameras: A Primer.
3. You Really Can’t Take It All With You
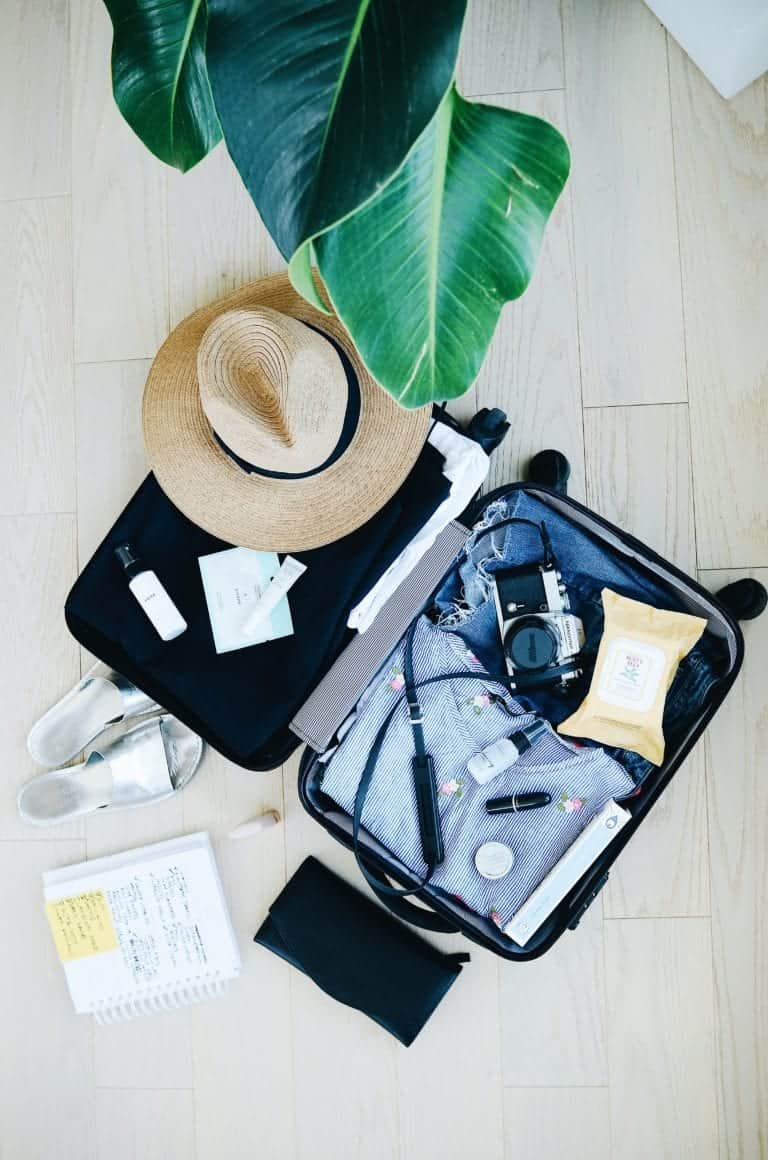
Well, I guess that isn't accurate. You can take it all with you, but it doesn't mean that you should. It is tempting to take ALL the equipment you own on your trip… but think it through. What kind of photography do you plan on doing during your trip?
For example, if you plan on capturing wildlife, then you’ll need a longer lens. A typical 70-200mm lens weighs over 3lbs. That doesn’t sound like a lot, but you’ll feel every ounce by the end of the day.
But if you plan on doing mainly street or landscape photography, there’s no point in carrying a long lens. The same goes if you’re a wildlife photographer…do you really need to pack that portrait lens?
4. Protect Your Equipment
Don’t leave your gear loose in your bag.
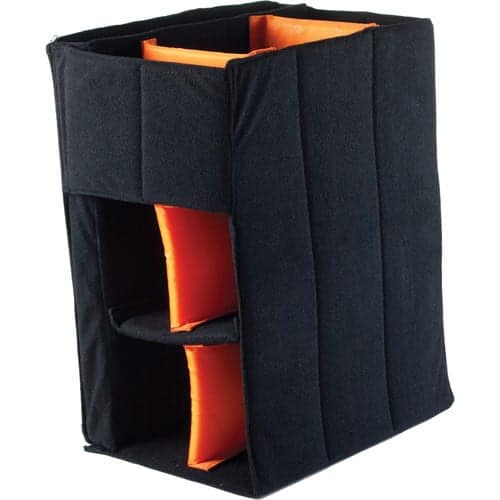
Use compartments within your bag or backpack to store your gear safely. They'll prevent your gear from banging around, and potentially breaking. If your bag doesn't already come with built in dividers, you can purchase them separately from B & H Photo.
Everything should fit snugly in your backpack for better protection. One hack to further protect your lenses is to put them inside thick socks before you place them in the compartment. This gives your lenses extra protection against scratches, moisture, and impact.
5. Cleaning Kits
An air-blower, lens wipes, and a lens cloth should always be in your bag.
No matter where you go, cleaning and maintaining your equipment is a must. There is no excuse for not packing these essentials. They take up little space and they cost nothing compared to the equipment you are carrying.
B & H Photo’s most popular cleaning kit is very affordable. It has everything you need to keep your camera and lenses clean in a compact carrying case. https://bhpho.to/3a1qNow.
6. Extras
By ‘extras’, I don’t mean optional. There are a few items you need to keep as spares in your bag.
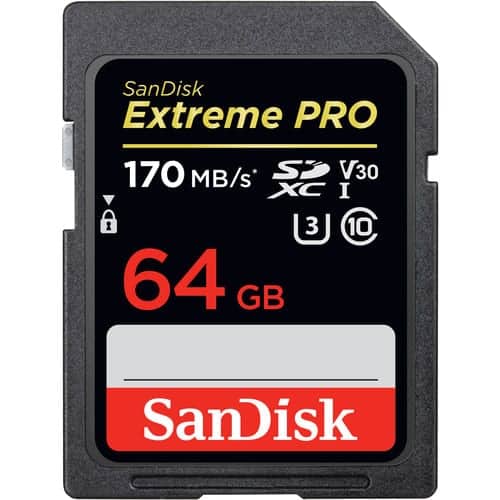
Pack an extra camera battery (or two!), a charger, at least 2 extra memory cards, and also some extra batteries if you’ll be using a flash. You should carry these essentials all the time in your bag, anyway. A memory card can get compromised, batteries run out faster in cold or hot conditions, etc.
Disaster strikes when you’d least expect it! So always be prepared. There is nothing worse than being in a once-in-a-lifetime destination and a vital piece of gear fails.
Memory card failure doesn’t happen often, but more times than you’d expect. If your camera has dual card slots, use them! If one card fails, you’ll have a backup.
Here’s my favorite memory card from B & H Photo: https://bhpho.to/2PZQahy
7. Tripod, GorillaPod or No Pod.
Sometimes you can skip carrying a tripod. It all depends on what you're planning to shoot, and the time of day you're going out.
If you plan to shoot street or architectural photography in the daytime, then you can probably get away without carrying a tripod. If you want to bring one just in case, consider a gorillapod instead.
Gorillapods are lightweight, flexible tripods with legs that can bend and wrap around surfaces like railings. They will do 80% of the job with only 20% of the weight of a traditional tripod.
Just don’t try using a gorillapod with a long, heavy lens attached to your camera. The weight of the lens will cause it to tip over, and potentially damage it. Lenses are just too expensive to risk this happening.
8. Choose the Right Lenses
Choosing the right lenses to pack means thinking about what type of photos you expect to capture on your trip.
If you shoot portraits, an 85mm, 50mm or 35mm prime are all superb choices.
For landscapes, I would take along a 16-35mm f2.8 and maybe a 70-200mm f2.8 as well.
For street photography, a 35mm is an amazing lens. Want a versatile, all-round lens? Consider a 24-70mm f2.8.
If you're looking to reduce the number of lenses you carry there are three lenses that cover all the focal lengths you’ll ever need (but there’s a catch.)
The lenses included in this all-around bundle are:
- 15-35mm f2.8
- a 24-75 f2.8
- 70-200 f2.8
These all offer great resolution and are fast enough for both sharp portraits and crisp landscapes. The only problem is that purchasing a bundle of these lenses could set you back between $3500 – $5000 USD.
If you don’t want to put out this kind of cash (and I don’t blame you!) why not look into renting what you need from our friends at Borrow Lenses?
Another alternative is to purchase good quality used lenses. You can find great deals from private sellers on Facebook Marketplace, Craigslist, and local buy and sell pages.
9. Filters
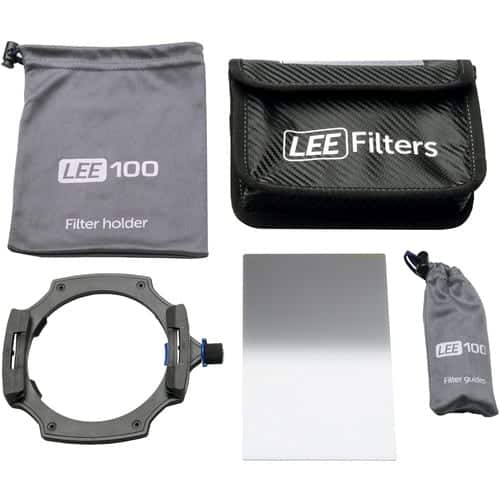
There are two kinds of filters I recommend for your lenses.
Polarizing filters reduce glare from objects and balance out the highlights in landscapes and architecture shots. They are especially helpful for photographing in high glare locations (i.e. around water and glass.)
Neutral Density (ND) filters are a must if you plan to do any long exposures. They allow you to reduce your shutter speed to complete long exposures in bright conditions. If you don’t already have an ND filter, I recommend starting with this kit from Lee Filters.
Most UV filters are a waste of money. They don’t improve the quality of your photos at all. The only benefit you gain is a little mechanical protection of the lens.
10. Get a Cable Management Bag
One of the best things you can do to reduce clutter is to pick up a cable management bag. These bags are designed for organizing and storing your cables, memory cards, USB sticks, laptop mouse, chargers, etc. These bags help you find what you need very fast while avoiding tangled cables.
Here’s one I like from B & H Photo: https://bhpho.to/2Uguobt.
You can pick up a quality cable management bag for well under $30. This is a small price to pay to reduce your stress levels trying to untangle cables – especially if you’re in a hurry.
Bonus: Here’s How to Figure Out What You ACTUALLY Need to Bring on Vacation

Here’s a visualization exercise to help you narrow down the exact equipment you need for your vacation.
Start by asking yourself: “What are the most important locations I plan to visit, and what photos do I want to capture?”
Make a list of your top locations to visit and imagine what types of photos you want to capture. Write them down, let your imagination run wild, and include everything that comes to mind. When you’re done, narrow down the list to your top 10 locations. Now narrow your list down to your top 3 locations.
During this exercise, you’ll imagine yourself at the location shooting with the equipment you will be using… so write down what you’ll need! This is your list of essential equipment that goes in your backpack first. If you still have extra space, you are free to include additional gear.
Remember this, and you’ll have it in the bag…(literally!)
Note: This post contains affiliate links. If you make a purchase from one of these links, I receive a small commission that helps me keep bringing new helpful posts like this to you.
Since vacation usually involves landscape photography, why not join me for a FREE landscape training session? Click on the image below to reserve your training time!
- Total117
- Facebook111
- Pinterest6
- Email0





16 thoughts on “Photography Gear to Take on Vacation”
You are really such a great teacher. It makes all the difference
Thank you for your kind words, Karlyn.
nice rundown with a good explanation of why only nit is weight of mirrorless lens can be the same as DSLR esp sony’s micro 3/4 is another story
I was surprised that one of your suggested lenses to take with you wasn’t a 50mm. Why is that?
Hi Linda, I did mention that a 50mm would be good to take with you, if you’re planning on shooting portraits. The right lens truly depends on what you’re shooting.
How did you know I was going on vacation in a few days? 🙂
…I have my ways… LOL! 🙂
Hi David,
Off to our summer home on the western slope of Colorado to the small town of Ouray. We have 14 of the tallest peaks in America. Plenty of opportunities to hone my skills in landscape and wildlife photography.
Donna Asam
I can’t wait to see some of your work, Donna!
Thank you David for this article. It is so easy to over pack especially when you are just learning to shoot in manual. You gave us great insight into really thinking about what we will be photographing and narrow our needs .
You’re welcome! Happy packing!
When I go on vacation, I’m always taking too much. But I’m always prepared for anything I might need!!! Good to know which lens is good to take.
I have been photographing for over 20 years.. I am not being paid to Endorse any of the Items.. I have learned by Experience .. I am 59 Far as the bag Their is only 2 ways to go is the (1) Backpack or (2) Spider Holster The Back pack saves your shoulder from the sling bag that weighs on 1 shoulder.. The Spider holster with 3 lens pouches Tamarack Large if you can find them. saves the back and is great.. leaves room for small back pack where you can put stuff you buy in it.. and carry filters and spare batteries.
I carry with me all the time.. Nikon Camera Cropped Sensor Body D7200, Large Flash, 10 to 20 3.5 Sigma, 17 to 50 2.8 VR Sigma Lens, 50 to 200 2.8 Sigma Lens. and Tripod or Mono Pod with a foot Benbro A 48FD that extends to 6 ft.. That way I am prepared for anything that I come across. I use the backpack when flying then when I reach my destination I will use the Spider Holster and lens pouches to carry the camera which is always secure and i can Fast draw and get the Photo with out fumbling to get it out of a sling bag .. More Secure and safer using the Spider Holster.. David O. Texas
Thanks for sharing, David!
Excellent List..wish I would known this before going on a mini vacation or 2 week vacation..
Thank you
Sorry, my timing was off! 🙂