- Total68
- Facebook14
- Pinterest15
- Email39

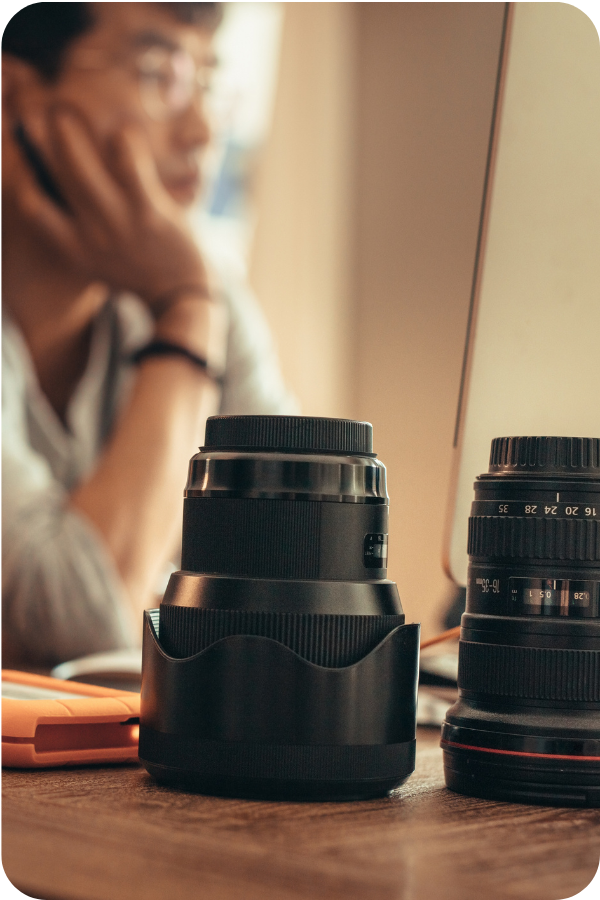
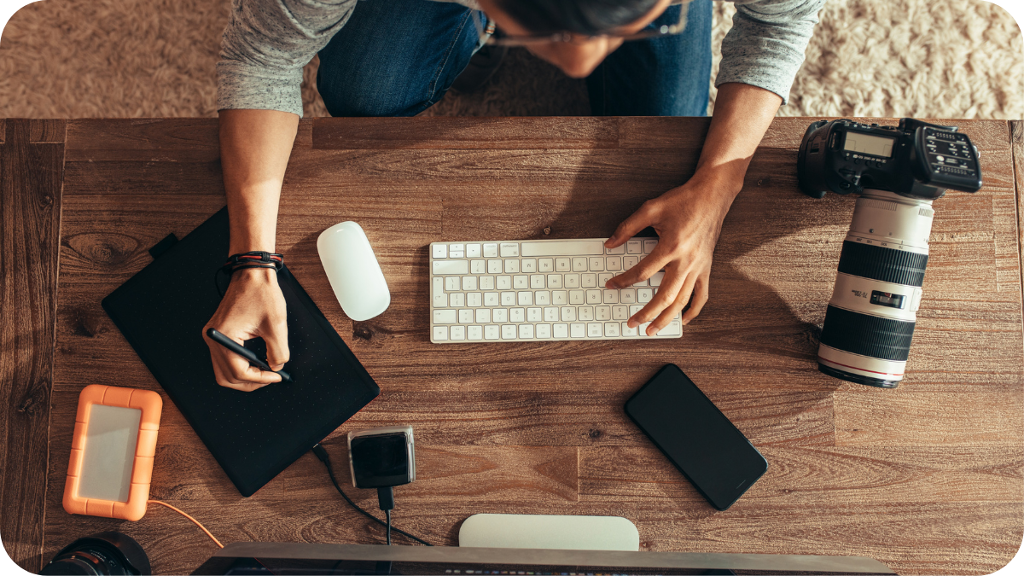
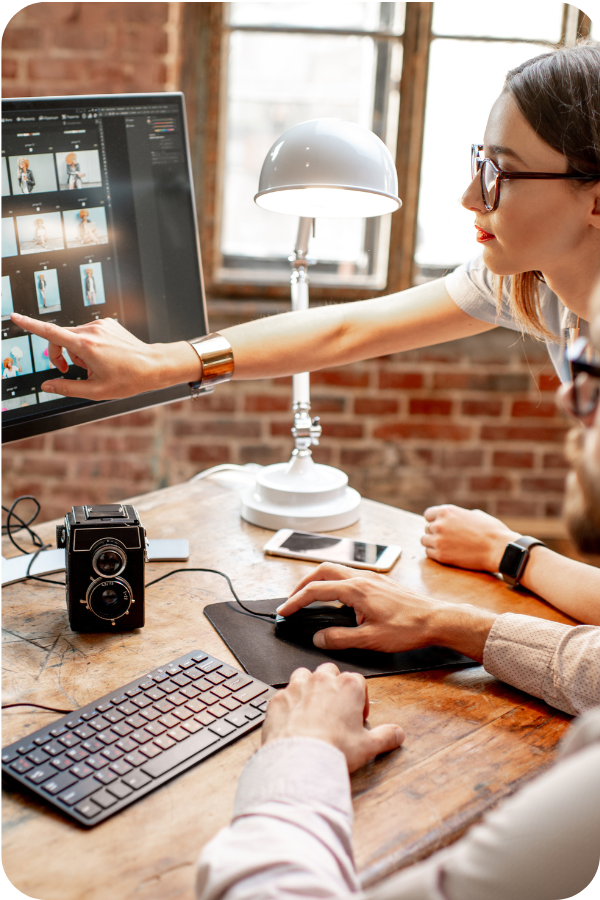
Every photographer knows the importance of a good camera and a good lens. But there is one more piece of technology that is crucial to creating amazing images.
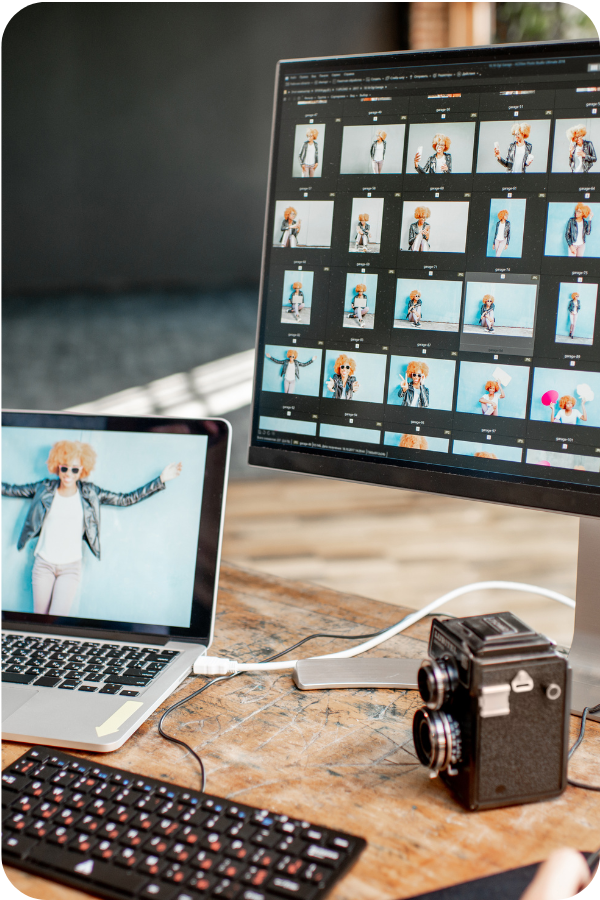
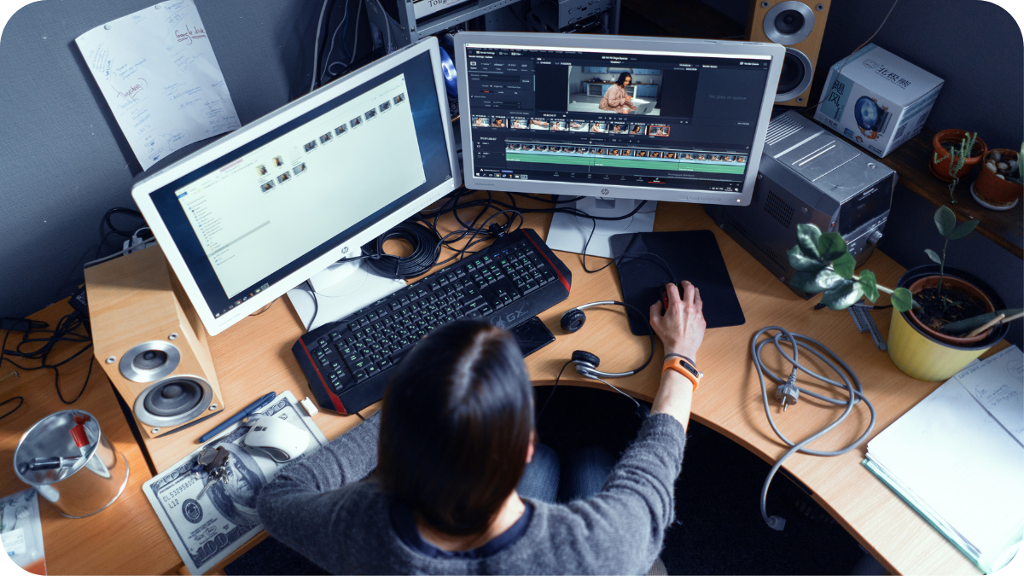
Your computer monitor.
All the amazing editing techniques in the world won’t do you any good if you can’t see how your edits affect your image.
Unfortunately, many people overlook the importance of a good monitor. Or they simply don’t understand the technical differences from one monitor to another. A monitor is a monitor, right? Nope!
So, let’s explore. With the best photo editing monitor on your desk, you’ll have the final piece of equipment you need to accompany you on your photography journey!

Things to Look for in a Photo Editing Monitor
There are a few factors you need to consider when choosing the monitor for photo editing. Let’s break them down.
Panel Type
The type of panel you choose is the most important factor.
The monitor screen or panel is made of several different layers of materials sandwiched together. These include the liquid crystal layer (LCD), polarizing layers, glass substrates, and color filters.
3 Types of Panels
There are three main types of panels. The biggest difference between them has to do with how the liquid crystals are oriented. The different configurations drastically affect the way the monitor behaves and how you will see the color and contrast.
TN (Twisted Nematic) Panels
Gamers love these types of panels because they are fast. When you’re in the thick of battle, ghosting and blurring effects in moving pictures are highly undesirable.
However, editing a photo is quite different than blasting aliens from outer space.
The downside of TN panels is the poor viewing angle. This means that the color and contrast of the image will change depending on your viewing angle.
You may have noticed this if you use a laptop since most laptops are made with TN panels. When sitting directly in front of the screen, you can clearly see the image. But when viewing the screen from the side or when tilting the screen too far back or forward, you notice that the picture changes drastically.
Obviously, this is not ideal when choosing a photo editing monitor. Of course, you could sit exactly in front of the monitor without moving, but a monitor with better viewing angle numbers is a better choice for photographers.
VA (Vertical Alignment) Panels
VA panels are somewhat better than TN panels with respect to their viewing angles and color reproduction. However, they are a relatively rare type of monitor.
Though the viewing angle is better, the main downside for photographers comes from the contrast ratio. The big contrast ratio means that the panel can display dark tones and blacks very effectively.
That might sound like a good thing, but it tends to be too much. Gamers like the high contrast, but photographers will find it difficult to soft-proof their images for printing. The contrast ratio makes it more difficult to imitate the proper dynamic range.
IPS (In Plane Switching) Panels
This is the type of panel we recommend for photographers. It offers a very consistent viewing experience from nearly all angles, which will make it easier to edit your photos consistently.
IPS panels also offer high-quality color reproduction, another must for photographers.
The downside of this type of panel comes in what is called the IPS Glow. This phenomenon creates a glowing effect across most of the panel when viewing a dark screen in subdued lighting.
This issue will typically bother gamers more than photographers. However, you can largely avoid this phenomenon by buying a more expensive panel.
Standard or Wide Gamut
The next option to consider is whether to choose a standard or wide-gamut monitor. There isn’t a defined “best” type for photographers, it’s more of a personal choice.
However, there are some definite pros and cons to each type. Let’s go over them so you can choose which best suits you.
Standard
The biggest draw for a standard gamut monitor is that it is less expensive and there is a wide variety of models to choose from. Furthermore, these monitors typically won’t need immediate calibration and profiling.
Additionally, you won’t see garish colors in non-color-managed programs and it is less prone to banding.
If you plan to be doing prints, this type syncs well with the output of most photo labs, which is helpful for ensuring accurate colors. However, it doesn’t work as well with color-managed inkjet printing. The monitor gamut is too narrow to include the color output of the printer.
The biggest drawback is the overall look of the image, which tends to be less attractive. There can be significant color loss, especially in the cyans and greens. For most wedding or event photographers, this won’t be as much of an issue. However, landscape photographers may feel frustrated with the look.
Furthermore, soft-proofing is easier for inkjet printing. The output of most inkjet printers will fall within the monitor’s wider gamut.
Unfortunately, wide gamut monitors typically need immediate profiling and calibration. Plus, they are more prone to banding, though increasing the color depth can help reduce it.
Aspect Ratio, Resolution, and Screen Size
Now let’s think about size and resolution.
Aspect Ratio
Monitors on the cheaper end of the spectrum typically come with a 16:9 aspect ratio. This is fine for most people.
However, photographers will benefit from the slightly larger workspace offered by a monitor with a 16:10 aspect ratio. Plus, 16:10 is a better fit for the classic 3:2 ratio of photos.
Resolution
The resolution has to do with how many pixels per inch the screen will display. There is a common idea that 72ppi is the perfect size for web use. However, a denser PPI will display your images better.
Most monitors have about 90-100ppi and this is sufficient for most photographers. However, to give you an idea of how dense it can be, the 27” 5K iMac with Retina display offers an impressive 217ppi!
Screen Size
Bigger is better when it comes to screen size, right? Well, yes…and no.
To be sure, it’s nice to view your photos on a bigger screen. It’s easier to see details as well as get an overall impression of your images.
However, this is not the end all be all. Buy the screen size that you can afford and don’t prioritize this factor over the other monitor attributes we’ve mentioned. There’s a reason we didn’t start the discussion here.
Plus, big screens require bigger resolutions to still look sharp at the same distance. As mentioned previously, pay attention to the PPI rather than the pixel dimensions alone.
HDR (High Dynamic Range) Support
Proper color display is vital. The best monitor for photo editing will cover at least 90% of sRGB and 70% of the Adobe RGB spectrum. These color spectrums are industry standards.
sRGB is the standard 8-bit color space for web display, everything on the internet is in sRGB.
Adobe RGB is a broader spectrum of colors. This is extremely relevant when printing photographs to give proper color range and depth in the image without any choppy or muddy color gradients.
Anti-Glare Filters
Glare on your computer screen is a pain. Thus, nearly all computer screens, with the exception of Apple iMacs, come with anti-glare filters.
However, the anti-glare filters have an undesirable side-effect.
Have you ever compared glossy prints to matte prints? You may have noticed that the glossy print seems slightly sharper.
The anti-glare filter downside works similarly since it adds a “matte” finish to the screen. Depending on the filter, it may have a minuscule effect or add a noticeable grainy look.
It isn’t necessary to avoid a screen with an anti-glare filter, but you should definitely investigate this on any monitor you are considering.
Calibration
All monitors for photo editing should be properly calibrated to ensure the correct colors for photos. Higher-end graphics monitors may have built-in calibration hardware and may allow you to save and switch between different calibration profiles.
If that option is not available, you can always calibrate your monitor with a hardware device like a Spyder.
You should typically calibrate your monitor once a month. More often if you feel it is necessary.
The Best Monitor for Photo Editing
So, what’s the best monitor for photo editing in general? It’s hard for us to give a universal answer. As you can see by this discussion, there are pros and cons to many monitor features. Which pros are required and which cons are acceptable will depend on your personal preferences.
But, if you’re feeling a little overwhelmed, we’ll leave you with this advice. Pick the best IPS monitor you can afford and you will have made a good purchase!
- Total68
- Facebook14
- Pinterest15
- Email39


