How to Download Your Memory Cards

You’ve taken your photos, and now you’ve got to do something with them. Your first step will be to get the digital photo files off the memory card inside your camera to your computer.
There are three* ways to do this, and they’ll depend on your camera, your computer and your comfort level with using different methods available to you.
USB Cable
Your camera came with a cable, and downloading your photos can be as simple as plugging it into your computer’s USB port, and opening the folder which will appear as a removable disk. You can then easily drag and drop the files to wherever you’d like to save them. The nice thing about this method is you don’t have to remove the memory card at all – which lowers the chances you’ll accidentally damage it or your camera’s card slot.
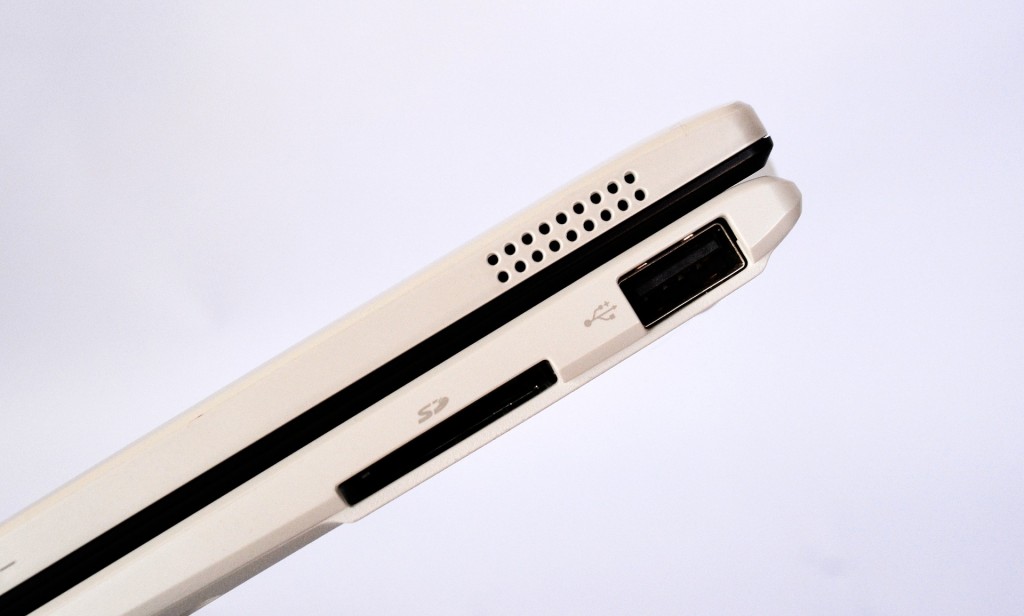
Memory Card Slot
Depending on the model of your camera, and the type of computer or laptop you’re using, you might be able to remove the memory card from your camera, and insert it into the correlating slot on your computer. If you can use this option, it’s a great one especially if you’re headed away on vacation, because it reduces the amount of cables, cords and gadgets you need to bring along.
Memory Card Readers
A memory card reader is affordable and handy. Some readers have the ability to read many different types of cards, and others are built to read many of the same type of card. If you like to fill up a few cards before you download your photos, a memory card reader can be the quickest, most convenient way to get all your photos onto your computer.

Step by Step
- Create a new folder for your images wherever you wish to store them. I recommend using a folder just for photos, with folders inside to organize your images by date, event or type.
- Using your preferred method above, connect your camera or memory card to your computer.
- Your computer will recognize your camera as a new drive. If you’re using Windows, open Windows Explorer and look for the drive marked “DCIM”. On a Mac, the folder will appear under “Devices” in Finder
- Now you can see the images on your memory card. Copy your photos into the folder you have created.
No matter which method you decide to use, you should make sure you’re backing up your files before you start to work with them. I backup my files to an external hard drive before I start to edit them, and then back them up again once they are processed. You can use a physical external drive or the cloud. Backing up your files can save you a lot of heartache later. There’s nothing worse than realizing you’ve lost weeks, months or even years of precious images to a hard drive failure, or a lost device. Your memories are worth this extra step!
*Bonus Method – WiFi!
Some cameras come equipped with WiFi, which means you can wirelessly transfer your images to your computer, your phone or your iPad. Many cameras also have the ability to upload to cloud storage. This is another great option for traveling with your camera – you won’t even need to bring your laptop!
Our Favorite Memory Card and Accessories
This post contains affiliate links. If you purchase an item from an affiliate link, I will receive a small commission that helps me keep bringing free content like this post to you.


