- Total36.5K
- Facebook196
- Pinterest36.2K
- Email109

There are few things more frustrating than reviewing your photos after a shoot… and finding that most of them turned out blurry.
Has that happened to you?
You might blame yourself for not having your subject in focus. Or think there’s something wrong with your camera.
But likely there is another culprit to blame.
When you get unintentional blur in a photo, most times it is because your shutter speed was too slow to freeze motion in your image.
Unless of course you're actually trying to allow motion to show in your images.
It’s even more frustrating when you miss once in a lifetime photo because of this error.
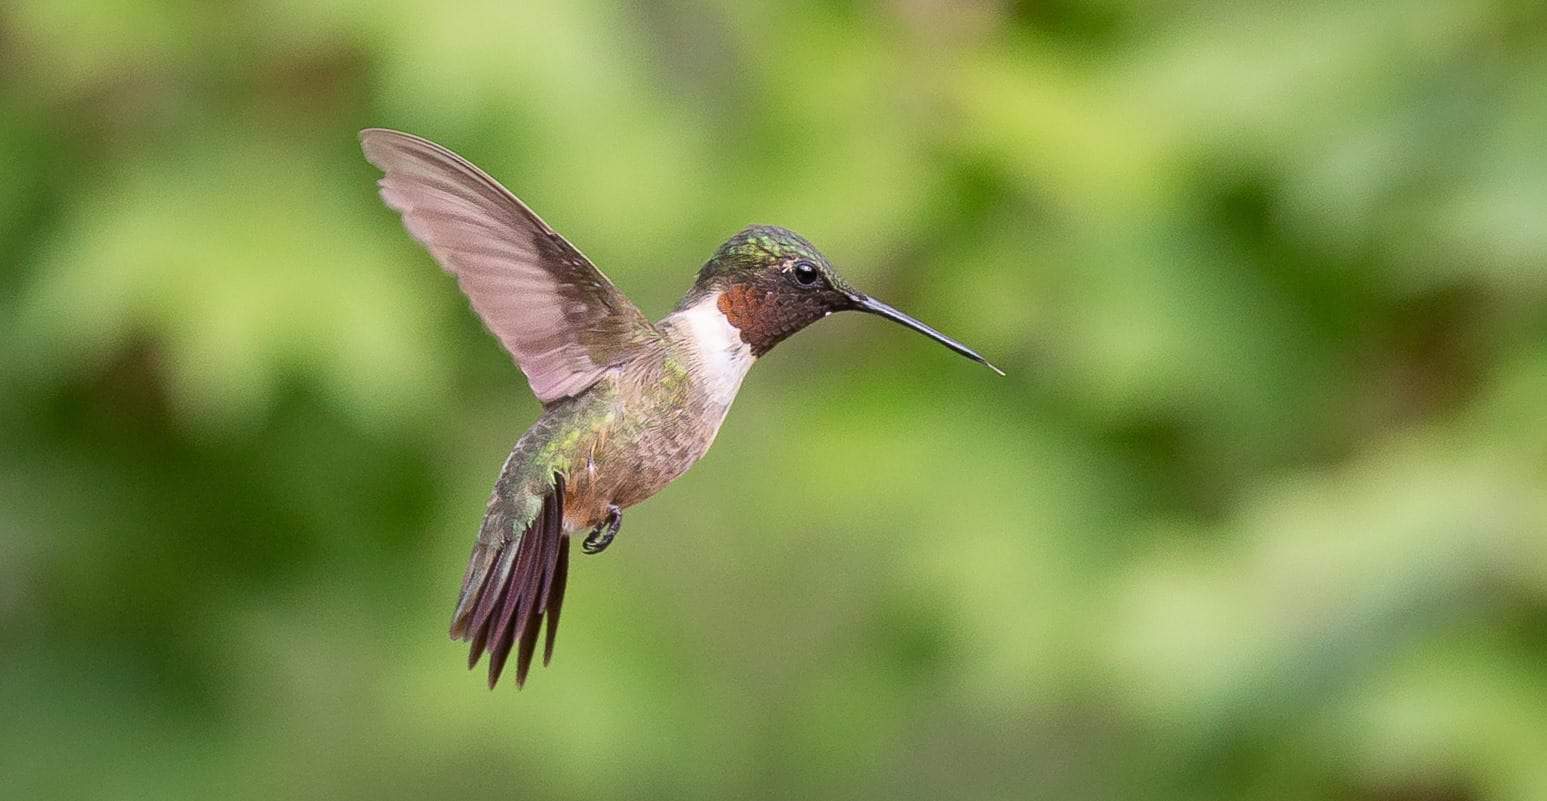
In this guide, I’ll introduce you what it takes to use a fast shutter speed and freeze motion in your photos like this below photo taken at 1/6400th of a second.

Auto Mode Makes Things Even Worse
If you shoot in AUTO mode, you’re bound to get this unintentional blur at some point. (More on this to come.)
The good news is that it’s easy to freeze motion in your photos once you know how (and you don’t have to shoot in full manual-mode either.)
But before I dive into the simple technique, let’s start with the fundamentals – what exactly is shutter speed?
What is Shutter Speed?
Shutter speed refers to the length of time it takes for the shutter to open, let light into the image sensor of the camera, then close again to complete the exposure.
Aperture and shutter speed are directly related. The wider the aperture, the more light enters the image sensor of the camera – and the less time the shutter needs to be open. The opposite is true as well – with a small aperture less light enters the image sensor and the shutter needs to stay open longer.
Naturally then, to create a good exposure (one that’s not too bright, nor too dark) you can:
- Shoot with a wide open aperture (small f-stop number) and a fast shutter speed
- Shoot with a smaller aperture (larger f-stop)
You can think of aperture and shutter speed working together like filling a glass of water from the tap.
Turn the tap wide open and it fills up very quickly, or barely open it and the water trickles in slowly to fill the glass.
In the same manner, opening your aperture wide (small f-stop number) floods your camera’s image sensor with light, fast. Using a small aperture (larger f-stop) lets light trickle slowly into the sensor, so you need to keep the shutter open longer.
Now that you understand the basic principle of shutter speed, here’s something else to think about.
Varying shutter speed affects your photos creatively too.
Shutter speed freezes or allows motion in your images

When you leave the shutter open for a longer duration, the image sensor has enough time to record any motion happening in your frame.
When you see those photos of waterfalls that look like soft cotton candy, that’s a long exposure.

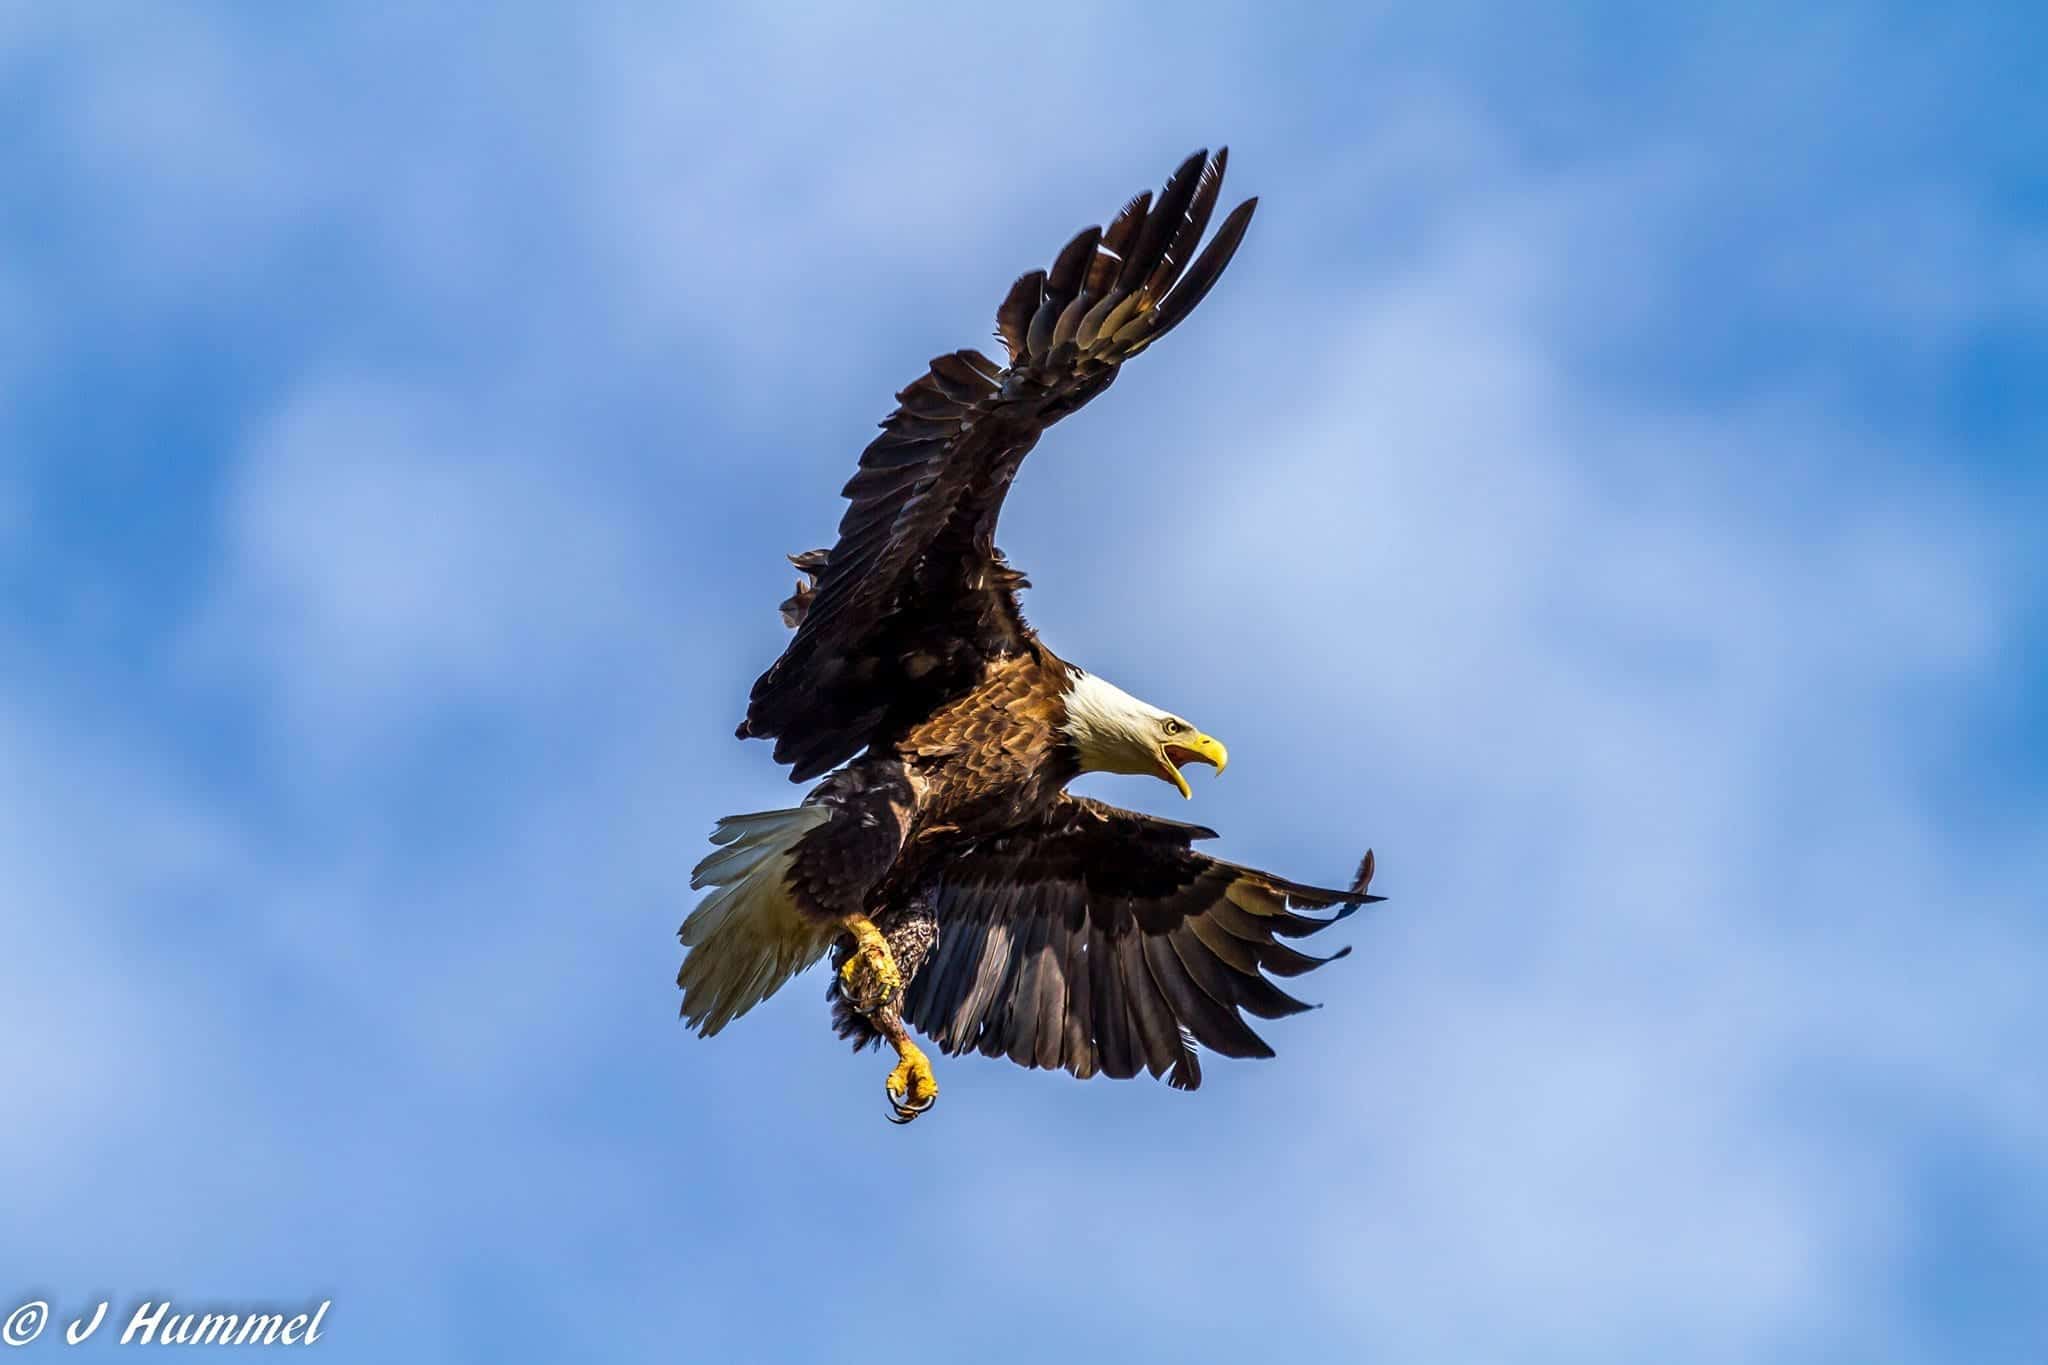
But when you see a great photo of a fast-moving subject like a bird frozen in flight, that’s the result of shooting with fast shutter speed.

Earlier I mentioned that shooting in AUTO mode will produce blurry photos at some point.
That’s because AUTO mode doesn’t take into account that your subject is moving and adjust your shutter speed accordingly.
That’s why I suggest that new photographers who want to experiment with freezing motion shoot in a semi-automatic mode called Shutter Priority.
Canon Camera Nikon Camera Sony Camera


NOTE: Fast Shutter Speed = Frozen Motion
So what shutter speed is fast enough to freeze motion? Well, that depends on how fast your subject is!
A minimum shutter speed of 1/250 of a second is needed to freeze motion.
But 1/250 isn’t nearly fast enough to capture some subjects.
A child running around the backyard is fast, so 1/250 is a good starting point to set your shutter speed for kids playing.
Yet, a football player running for the end zone is even faster. A hummingbird would make the football player look slow. A race car would leave them all in the dust.
So if you used a shutter speed of 1/250 to capture these subjects, you’d end up with blurry photos.
Try these suggestions if you’d like to try freezing motion.
Suggested shutter speeds to freeze motion

Keep in mind that these shutter speeds are only suggestions – you may still have to adjust your shutter speed a bit higher to freeze the action.
And for inspiration, here are some excellent examples of freezing motion from my students:

ISO: 600 Aperture: F/6.3 Shutter: 1/1600s

ISO: 100 Aperture: F/4.0 Shutter: 1/800s

ISO: 400 Aperture: F/4.0 Shutter: 1/1200s

ISO: 200 Aperture: F/5.6 Shutter: 1/2000s
Now that you understand how to freeze motion, there is one sure way to tell if your images are perfectly crisp (without any motion blur.)
How to check if you’ve really nailed freezing motion
The best way to check if your images are perfectly crisp is to import them into Lightroom.
Next, zoom into your image.
Does the subject look perfectly crisp, or does it look a bit fuzzy?
If you see fuzziness, your shutter speed was too slow to completely freeze the subject of the image.
Find one that’s crisp and clear?
Click on the image then press Control+” I” on a PC or Command+ ”I” on a Mac to display the image’s EXIF information. (This brings up a pop up that shows the shutter speed, aperture and ISO when the image was captured.)
Note the shutter speed as a starting point for your next action shots.
It’s that easy!
Discover how to creatively use shutter speed
Join me for my free training called “Show Your Camera Who’s Boss” and I’ll show you how to use the dials on your camera to freeze motion.
Have you experimented with changing shutter speed? Share in the comments.
- Total36.5K
- Facebook196
- Pinterest36.2K
- Email109


24 thoughts on “How to Freeze Motion in Your Photos Like a Pro”
Thanks you David for helping understand all this, I really appreciate you.
I’ve always been an Auto user myself I am ashamed to say but now I will definitely try your suggestions. My birds and baseball and football will be starting soon.
I opened this up to just remind myself of the balance and low and behold there is one of my shots in the article. Made my day. David’s classes are so incredible and easy to understand. Worth every penny.
Thanks so much Heather! So glad I could help make your day! It’s a fantastic photo 🙂
Would love to know how to balance this when in a darker place and fast action? Stage etc.
You’re so welcome Alejandra! Thanks for stopping by! 🙂
Best of luck Jody! You can do it!
This is so helpful! I’ve been playing with shutter speed and aperture, but I still get blurry images. Your chart helps me understand why. I’m not using a high enough shutter speed setting for some of my shot. Thanks!!
So glad it’s helpful for you Jeanne! You’re very welcome! 🙂
These are really helpful. Can you please tell me what lens you are using?
Thank you
Hi Kim! I’m so glad you found it to be helpful! This information can be applied when working with any lens 🙂
Love looking back at these tutorials….using these tips tonight at the soccer game!
I hope you got some great photos at the soccer game Tracy!
Would 1/500 be good setting for flying confetti? My niece asked me to shoot their gender reveal on Saturday and I’m so nervous – there are no 2nd chances for that! They are having some sort of canon type thing that will shoot out confetti/powder – would back button focus be good for that too? I’m newer to that also but like it so far but not sure if I should use a tri-pod either but not sure if that would work – I’m over thinking everything because I’m nervous of the pressure!
Hi Dee!That’s so exciting! I’m sure you will do great! I would recommend setting your shutter speed as high as possible while still getting a good exposure. That way, you will be sure to freeze the motion. You could also do a test shot beforehand to get a better idea. 🙂 I do recommend using back button focus. I wrote a blog post on that as well if you’d like to check it out! https://davidmolnar.com/back-button-focus-the-secret-to-crisp-photos-every-time/ Additionally, I don’t think that a tripod is necessary since your shutter speed will be so high but if it would make you more comfortable, there is nothing wrong with using one! Best of luck! You will do wonderful!
Hi, I’m trying to photograph birds with. 2000 shutter speed and 4 f stop but it’s super dark in low light, can you help me without have to buy a new lens?
Kris, I don’t know what lens you have, but you should be able to troubleshoot some things before making that lens purchase. It sounds like you may need to look to shoot birds in an area with more natural light. Are you shooting fully manual or shooting in Shutter Priority? If you’re shooting in Shutter Priority the camera can help you set some of the other settings. Shutter Priority is ok when you’re learning. You may consider adjusting your shutter speed a little less than the 2000 I suggested (only slightly) and maybe lowering your F stop slightly. I would just tinker with these settings some and see if you can capture what you’re trying to capture. Good luck!
I have some difficulty photographing in AP mode. Sometimes the light just won,t adjust for a good image?
I understand how it works but it’s very frustrating having to change F Stops constenatly.
AP mode is a great place to start, but as you get more practice under your belt full on Manual would be awesome for you. You do have to adjust the settings, but over time it becomes easier. You got this!
Thank you for this extremely helping tutorial. I was photographing as my hobby for many years and it was no problem to shoot even 1/30 out of hand. But since some years I have – due to medical reasons – heavy tremor in both hands. I was very frustrated, because I could not always go around with a tripod. So I changed to shutter priority and aperture and auto ISO. Usually I start with 1000/sec and never go longer than 250/sec when shooting without a tripod. It works.
You have to do what you have to do, Karsten. I understand. It’s so great that you’ve compensated for your needs and are able to grab the shots you want.
Are there any other recommendations you would have when photographing low light areas? I shoot indoor horse shows, and lighting is tough to balance and still get crisp photos.
Keep your aperture as low as possible, ISO up, and shutter speed as low as possible while still being able to freeze your shots. For equestrian photography, this may be around 1/1000 to freeze the motion of the horses. Hope this helps!
Pingback: Mastering Shutter Speed: A Guide to Capturing Motion - Bokeh Highlight