- Total154
- Facebook114
- Pinterest16
- Email24
Since digital photos rose to popularity, fewer and fewer people chose to print out their photos. That’s a shame, because beautiful photos deserve to be printed!
One reason people print less now is they find the process of printing their photos daunting and confusing.
Don’t worry! We’re here to make printing photos from Lightroom as painless as possible.
For Best Results, Calibrate Your Monitor Before You Start
Out of the box, your monitor won’t likely match the color space you’ll use for printing like sRGB or Adobe RBG. That’s the reason your printed photos may not look even close to what you see on your monitor. Calibration helps you correct your monitor's color space so you don’t get any surprises.
There are some free downloadable apps to help you calibrate your monitor, like Calibrize, or the Lagom LCD Monitor test pages. You’ll see instructions of how to use them on the respective download pages. But while calibrating your monitor with an app gives you better printing results than an uncalibrated monitor will, this process still relies on ‘eyeballing’ it. It will be better, but not perfect.
If you’re an amateur enthusiast, and don’t plan on enlarging your photo to extremes, you’ll likely be happy with this process.
However, if you want to go the extra mile and calibrate your monitor like a pro, then invest in a calibration tool. You connect this tool to your monitor via a USB cable, and hang it over your monitor. The tool flashes a series of colors over several minutes that it detects with its eye. Then it feeds the data back to your monitor to create a correct color profile.
B & H Photo has a good selection of monitor calibrators ranging from approximately $99 – $250.
If you want to go all out and calibrate both your monitor and your printer, you can splurge on a spectrophotometer, but expect to pay in the $500 range. Unless you plan on printing on a regular basis, you can save yourself this expense.
Select Your Photo Paper
Before you print, you need to decide what kind of paper you want to print your photo on.
There are glossy papers. Matte papers. Fine art papers. Cotton papers…and tons of other options. If you’re new to printing, you might be a little overwhelmed by all of the choices.
No worries! Our friends at B & H Photo have an excellent guide to choosing your paper here.
You’ll get different results from your printing paper, so make your choice carefully!
Make a Virtual Copy of Your Image Before You Get Started
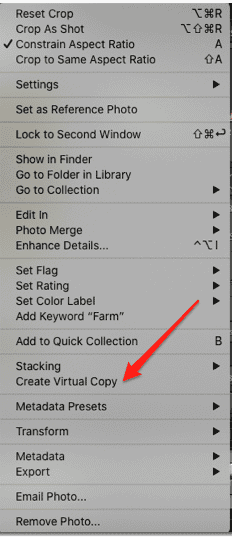
Before you start, make a copy of the photo you want to print. Then if you make any mistakes, you can easily start from scratch again with the original. Simply right click on the photo you want to make a copy of, and choose, “Virtual Copy.”
Next set your print dimensions in the Crop & Straighten module before you import them into Lightroom.
To set your print dimensions, click on the drop down arrow beside “Aspect” in this module. From there, you’ll be able to set the dimensions for your printed photo. Once and done – you won’t have to mess with this again.
If you do forget to set up your dimensions before you import, don't panic! Here is another way to set your photo dimensions inside Lightroom.
Resize Your Photos for Print Using Lightroom’s Export Settings
It's a simple process to change your image size using the Export Menu found under the “File” tab in Lightroom.
- Select which photo(s) you want to resize
- Under File Settings, click “Export” and select the following:
- Format: JPEG
- Color Space: sRGB
- Quality: 100
- Resolution: 300 ppi
Here is a handy cheat sheet to resize your images for print
- Under Image Resizing, check the “Resize to Fit” box.
- Under Output Sharpening, select “Sharpen for Print”, “Amount: High”
- If you have a watermark you want to use, you can add one under the Watermarking field.
- Then, leave “Do nothing” under “Post-Processing” > After Export”.
- Then just click Export and you’re done!
Image Resizing Cheat Sheet
| Print Size | Optimal Resolution | Minimum Resolution |
|---|---|---|
| 300 px | 100 px | |
| 4" x 6" | 1200 x 1800 px | 400 x 600 px |
| 5" x 7" | 1500 x 2100 px | 500 x 700 px |
| 8" x 10" | 2400 x 3000 px | 800 x 1000 px |
| 12" x 18" | 3600 x 5400 px | 1200 x 1800 px |
| 16" x 20" | 4800 x 6000 px | 1600 x 2000 px |
| 20" x 30" | 6000 x 9000 px | 2000 x 3000 px |
| 24" x 36" | 7200 x 10800 px | 2400 x 3600 px |
Adjust Brightness, Contrast & Saturation
Because your computer monitor is backlit, your printed photo may look duller than you remember it being on screen. Bump up your exposure by ¼ to ½ stop, and increase your contrast and saturation slightly to compensate.
You can check the “Soft Proof” box to preview what your printed photo will look like with these adjustments.
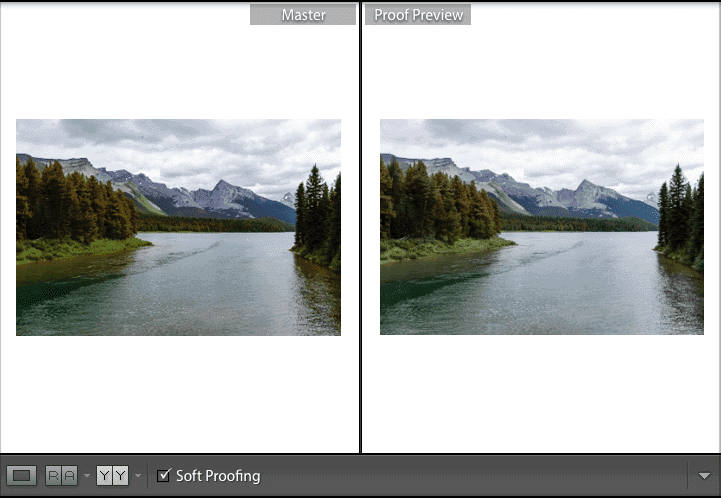
For more on using the Soft Proofing feature, check out this article from Adobe.
Set Your Color Space
A key thing to remember when printing an image is that the image you see on your screen is not necessarily how the printed image will turn out!
You’ll need to take into consideration your monitor’s output and adjust the colors accordingly. Other things to take note of include color management, photo size, layout, brightness, resolution, etc.
The quickest way to take care of all of these details is through Adobe Lightroom’s export menu.
Opening for Export
You can get to the Export dialog in 3 ways.
- Highlight or select the photo from your filmstrip and right-click on the photo. Click on Export > Export.
- Select File > Export.
- Use the keyboard shortcut shift+command/ctrl+E
Choose the following export settings in the Export Dialog
- Format: JPEG
- Color Space: sRGB*
- Quality: 100
- Output Sharpening: (for the type of photo paper you will use: ie glossy, matte, etc), Amount: High
Printing from Your Own Computer
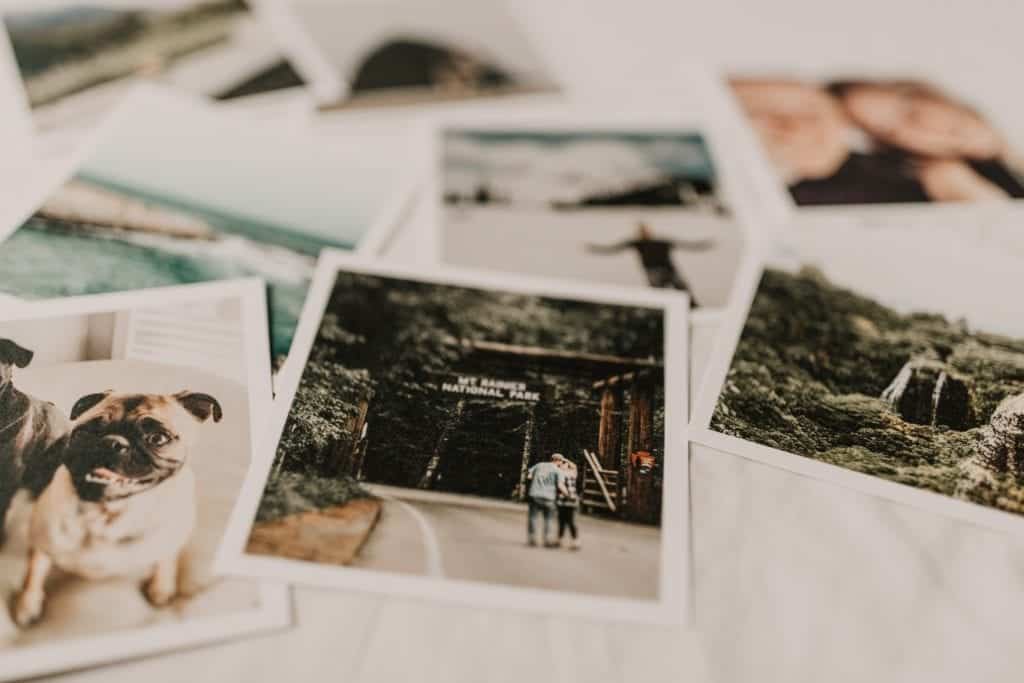
- You don't need a lab to print your photos, unless you want fine art and/or large prints. It's fun to print them from your own computer.
Here are the steps to set up your photos for printing from Lightroom:
- Open Lightroom
- Go to the Library module and select the photo(s) you want to print.
- Go to the Print module
- Click the Page Setup button in the lower-left corner of the module.
- Once there, select a printer and a page size under the “Format For” menu, then click OK.
- Select a Layout Style. You can choose one of the following:
- Single Image/Contact Sheet – print one or more photos, all of the same size.
- Picture Package – print one photo in several sizes.
- Custom Package – print multiple photos in several sizes on one or more pages.
To preview the photo before printing, simply click on the photo. You can see the preview on the left hand side of your screen. Make sure you leave the Scale set to 100% and make the size adjustments in Lightroom Classic.
Optional: Add or remove photos from your initial layout. To do this, click on the command button (Mac) while selecting a photo.
- Single Image/Contact Sheet and Picture Package – select one or more photos in the Filmstrip to add them to image cells in the preview area. Deselect photos to remove them from the template.
- Custom Package – drag the thumbnail from the filmstrip to an image cell in the preview area.
Optional: Modify Your Layout.
- Single Image/Contact Sheet – modify the template using the controls in the Image Settings and Layout panels. Some commands you can use include zoom to fill the photos in the cell, add a stroke border, and adjust margins.
- Picture Package and Custom Package – you can drag cells freely in the preview area and specify the options in the Image Settings panel. Play around with the Rulers, Grid, and Guides panel to adjust what is shown in the work area. The Cells panel allows you to add new cells or pages to the layout.
Optional: Embellish Your Photo.
Change your photo’s background color, add text to your layout, or even a watermark using that Page panel.
Specify output settings in the Print Job panel.
- Lightroom’s default setting is 240 ppi. We recommend bumping it up to 300 ppi.
- Specify the color management of your photos. To do so, choose from the Profile and Rendering Intent pop-up menus.
- Select whether or not to use Draft Mode Printing. (This is useful for when you want to see if you’ve properly laid out your photo and the size is to your liking.)
- Select the 16 Bit Output option to print to a 16-bit color printer on Mac OS 10.5 or higher.
- Select whether you want to sharpen the photos. To do so, select Print Sharpening, use the pop-up menus to choose how much sharpening you want to be added and whether you want to sharpen your image for matte or glossy paper.
- Remember, photos look more saturated onscreen than they do on print. To mimic this bright and saturated look, select Print Adjustment and play around with the Brightness and Contrast sliders.
Check Printer Settings:
Click Printer (lower-left corner) and Print settings (also lower-left), to check that the options for your printer have been configured to your specifications.
Click Print. Now you're done! You've just printed your first photo from Lightroom – congratulations!
Using a Commercial Print Lab
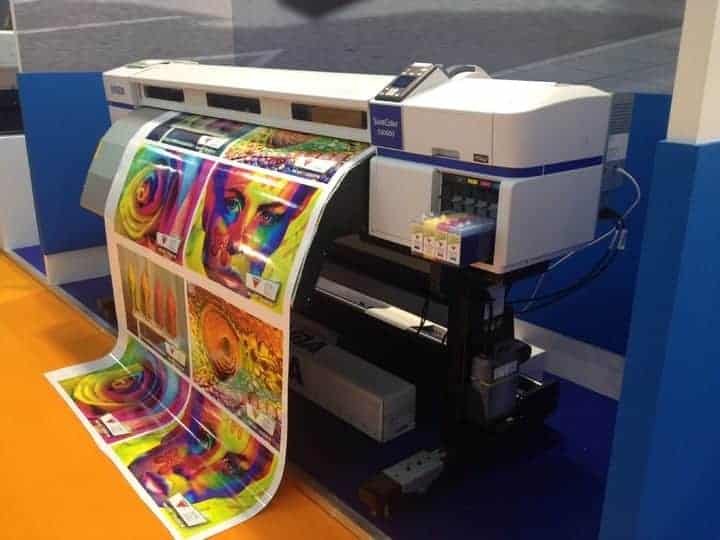
There are times that you’ll want to print a photo larger than your personal printer can handle, or you might like to print on canvas or metal. In these instances, you’ll want to find a quality print lab to work with.
Your lab will let you know what color space you need to set (larger labs commonly use Adobe RGB instead of sRGB. ) You may also have the opportunity to export your finished image file for the lab as a TIF instead of a JPG. If you get this option, take it. (TIF files retain more data than JPGs.)
If you’re printing on canvas, you’ll need to size slightly larger if you want to wrap your photo around the edge of the frame. Your lab will provide additional instructions in this case.
Want Better Printed Photos? Work on Your Editing!
Your final printed results are only as good as your editing skills! So why not join me for a FREE editing training session?
Simply click the image below to reserve your training time!
- Total154
- Facebook114
- Pinterest16
- Email24



3 thoughts on “Printing Photos from Lightroom”
Great printing tips.
Thanks David, this is so well written – and especially good for amateur photographers/ novice LR users like me. Much of what I read today to educate myself is full of jargon and I give up trying to decipher solutions to my problem. One question I have, which I could probably figure out by doing a test, but thought I would ask the expert for a reco, is the following: For context, I have encountered some color issues when letting LR manage color, so I switched to “Managed by Printer” and my problem (very muddy brown/yellowy cast on photos despite adjustments to saturation, hue, brightness etc), went away. I’m sure it’s an ICC profile issue but way too complex for me to sort out, so I’m sticking with the Printer managing color for now (Canon MG7500). My question: I can adjust Colors, Intensity, Contrast and Brightness in my print dialog, do the Brightness and Contrast sliders in Print Adjustment in Print Module still “work” if the Printer is managing color? If so, which of the two (printer or LR) do you think is better/would you recommend to use, or a combination? For Brightness, my Printer only has Light, Normal and Dark settings; for Contrast it has similar options/range or settings as LRC. Cheers
Great questions! You might want to look at a color calibrator and make sure your monitor colors are accurate. It can be tricky printing at home sometimes…finding the right combo to make your photographs true to color. There are a lot of factors that can go into it.