- Total10
- Facebook0
- Pinterest7
- Email3

Product Photography on a Budget
Have you ever thought about adding product photography to your list of services?
Businesses need great photos of their products for both printed marketing materials and online stores. Product photography can help you create additional income during slower periods of your business without a ton of gear or the stress of shooting events. There is more demand than ever for product photography, as brick and mortar stores have gone online to survive.
You don’t need fancy gear or a studio for excellent results. You can start practicing product photography in the comfort of your home without a big budget.
Basic Gear for Product Photography

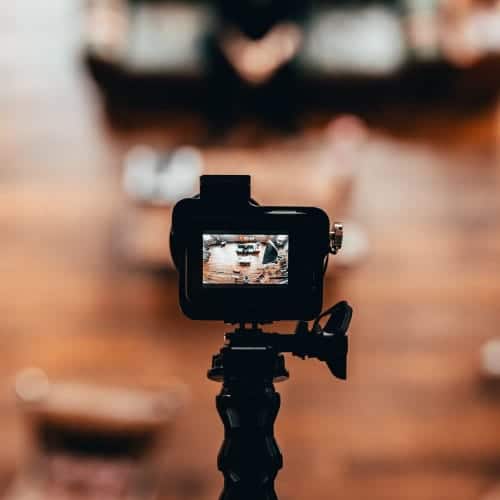
For product photography, you need a DSLR or mirrorless camera that gives you full manual control, a fast prime lens, a tripod, and a sturdy stand or small table for your product.
A macro lens is ideal to capture fine detail in your product, but isn’t mandatory. No macro lens? If you own a high mega-pixel camera, crop in close to capture detail without losing resolution.
Add a lens hood to minimize any lens flare and add contrast.
Your Product Stand and Background
It’s good to elevate your product slightly to reduce glare. A 3-ring binder works well for this. It’s small enough to move around to get your product aligned in your frame without actually touching the product itself.
Next, find a mid-tone background to lay your product on. This could be as simple as a piece of paper or cloth. One inexpensive suggestion to add some background interest is a slate or marble tile. You can pick these up for around $10-20.
Light Sources
One size doesn’t fit all when it comes to product lighting. You can get quality results with studio strobes, diffused window light and a reflector, continuous lighting or even household lighting.
Diffused lighting is key, because you don’t want shadows that obscure the detail in the product. If you have a softbox with a strip box modifier, that’s an ideal setup for diffused light. A speed light works well too, as long as you make sure to diffuse the light.
But if you don’t have room in your budget for strobes, you can use a little DIY ingenuity for a nice setup.
If you have an incandescent lamp with an arm and a moveable head, it can provide the light you need, along with the addition of a simple cardboard box modifier. Add a dimmer switch to the lamp for more control over the light intensity.
Here's how to build a dirt cheap light box you can use with either a lamp or a speedlight to diffuse the light beautifully.
A DYI Light Box
Cut one side off a cardboard box so its open to the front.
Next, cut away most of the top and sides of the box, leaving a narrow frame of cardboard around the sides. Tape some white tissue paper or thin white fabric around the “frames.”
Line the back and bottom of the box with colored construction paper, or paint it your desired color.
Super simple, yet cheap and effective.
Diffused Window Light

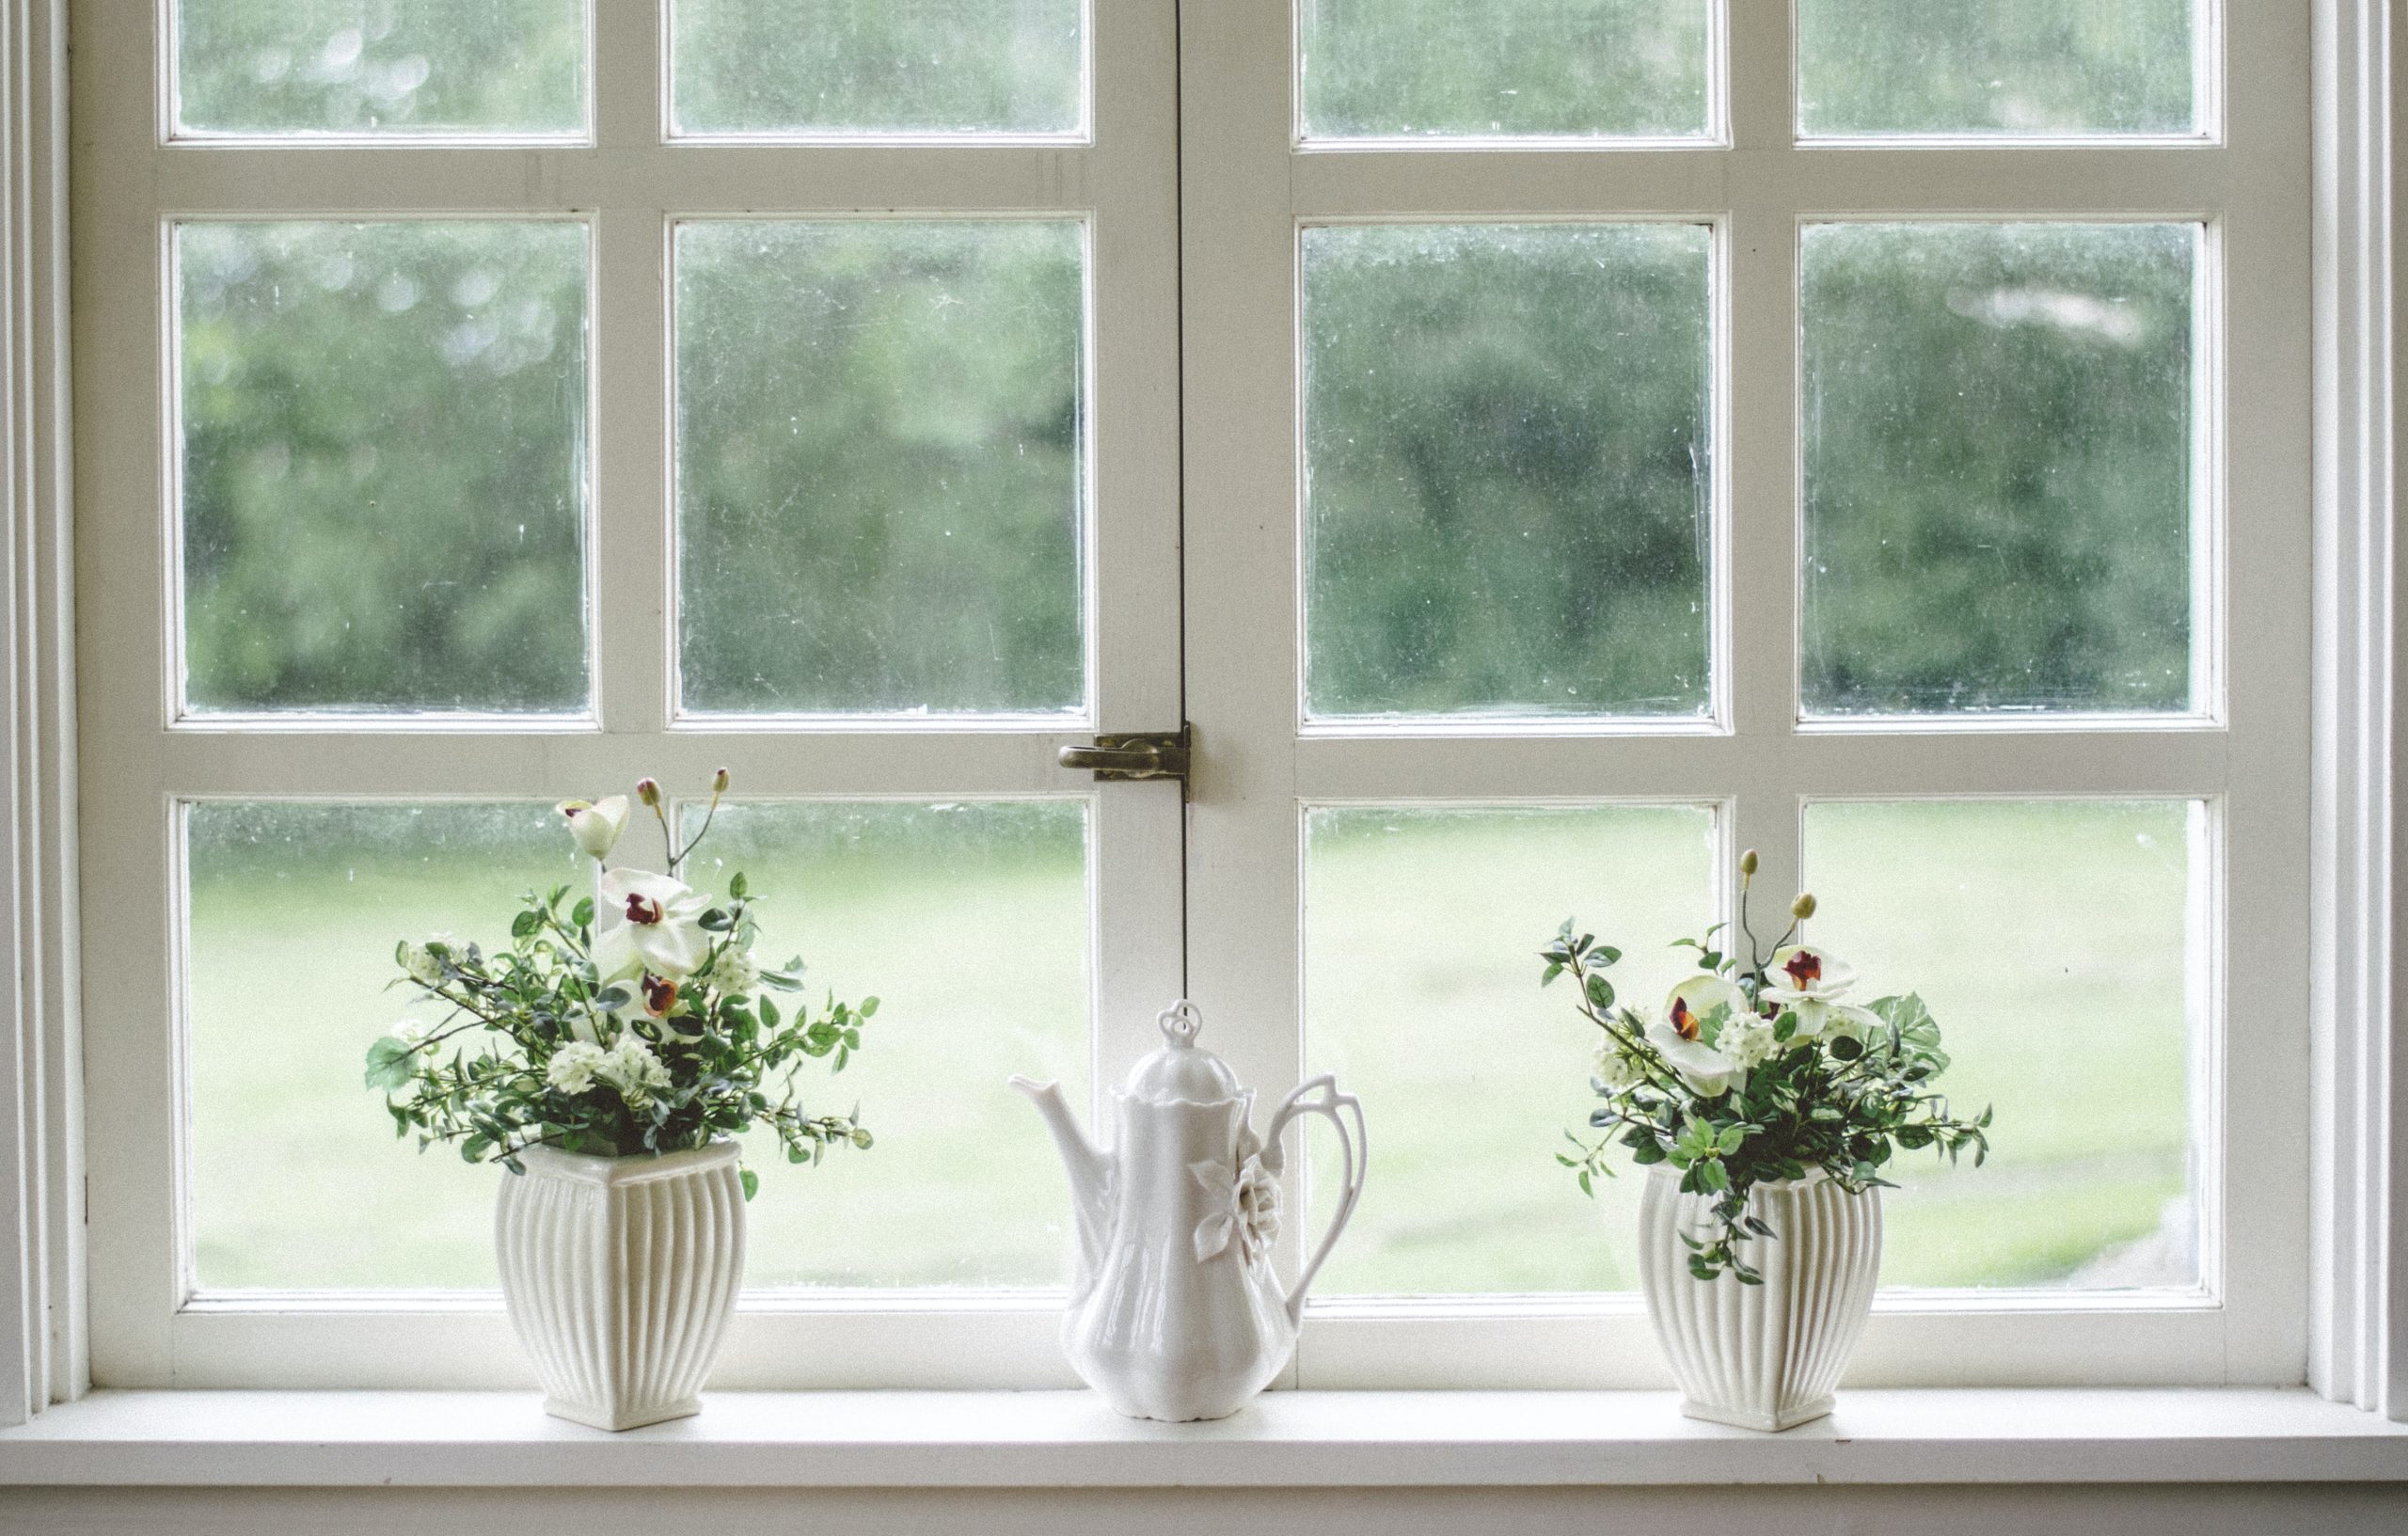
Diffused window light is gorgeous for product photography.
Make sure that the light isn’t shining directly through the window, or you’ll get harsh shadows and glare coming off the window itself. If you find the shadows aren’t to your liking, add a reflector, or even a simple piece of white card stock in front of your object to reduce the shadows.
Avoid Accidental Reflections
Nothing is more frustrating than taking your time to get your product photography session set up perfectly, only to realize your images are ruined because you can see your own reflection in your products.
This is a real issue when photographing reflective surfaces such as metal and glass.
One way to avoid this is to set everything up, but replace your product with a mirror. Position your lens and product stand in a way that you can't see your own reflection. Then replace the mirror with your product background and objects.
Remember to keep your angles simple when you’re photographing products. Focus on capturing the product itself, not just the background, or you’ll be spending a lot of unnecessary time in editing. Live view is your best friend here. Zoom in and make sure you position everything just right before you press the shutter.
Shooting Products at Wide Apertures
While it might tempt you to shoot wide open to blur the background of your image, be careful. At your widest aperture, only a thin sliver of your product is in focus.
To make sure your image is as sharp as it can be at wide apertures, try some focus stacking. Shoot a series of images with your focus on different areas of your product. Move only your focus points, but don't move the camera or the product itself. (A tripod is a must here!)
Blend the images together in Photo Merge in either Photoshop or Lightroom to create a single product image with overall sharp detail.

Shoot in RAW File Format
I always recommend you shoot in RAW file format for maximum editing flexibility, and product photography is no exception. Be sure to zoom in and review your image for any specks of dust in Lightroom. Use the spot removal tool to remove any imperfections.
Product photography is an enjoyable way to challenge yourself during winter months when you can’t get outside to shoot. Have fun, practice, and experiment!
Need Some Help Getting Tack Sharp Product Images?
To take incredible product images, you have to be 100% confident and comfortable shooting in manual mode. If you're not there yet, join me for a FREE camera training session. You won't believe how simple it can be to shoot in full manual mode!
To register, just click the image below and choose your training time.
- Total10
- Facebook0
- Pinterest7
- Email3


4 thoughts on “An Intro to Product Photography”
Great information! So after you have all of that in place, how to get into the product photography market? I’ve been long interested in this! Thanks for your tips.
Kimberly, you have to market yourself! You have to go around and show people your work. Make sure you have a gallery online that you can show to people…and where people can find you. Once you get out there and get a few shoots people will begin to share your name. Good luck!
How does a product photographer get their work out there when everything is shut down and you have no idea who is online or even where so you an showcase your work?
I’m on IG, FB, and promoting my own website and imagery on Viewbug, Artrepeneur, etc.
I’ve also pitched to all kinds of businesses in my region about what I offer.
And no dice.
I have also applied on Indeed, Ziprecruiter, Workopolis, Glassdor, Linked In, etc. for nearly five years.
No bites – after five years of getting the word out.
Corporations want agency photographers with 10+ years of experience and proven expertise on all production fronts, per job applications online.
The small businesses have either closed shop, lost money and can’t hire, or are skittish about taking a chance on marketing and business growth.
The threat of A.I. is looming large as well, threatening the demand for photographers.
Thoughts?
Bill,
It’s not always easy to ‘break in’. If you see a dream, go for it. Keep building your portfolio. Keep networking. Keep doing what you love. I know it can be discouraging, but just keep at it. Find the area that you want to specialize in and focus on that. If you don’t have a blog, get one. Find other photographers doing want to do and shadow them or put yourself out there as a second shooter. These are just off the top of my head. Good luck!