You’ve heard the word.
You know it’s important for some reason. You might even know what it means. But when it comes to your actual camera, you might be a bit lost.
What is aperture on my camera? Where is it located and how does it work??
I totally get it…
Aperture is one of those photography terms that can seem confusing at first because it was poorly explained or not explained at all. (Which is precisely why I decided to write the most comprehensive, helpful article online on aperture.
Let's clear the air. The first thing I need to tell you is: aperture is not actually inside of your camera.
What?! It’s true.
Instead, aperture is only inside of your lens.
However! You control your aperture with your camera. (Except old lenses that are manually controlled. Most lenses these days are controlled from the camera.) Then your camera tells your lens what to do with the aperture. It’s like a mini game of telephone between you, your camera, and your lens. 😆
3 Things You Need To Know
- Aperture is the physical size of the hole that is inside your lens.
- The size of this hole can be changed.
- The larger the size of the hole, the more light will come into your lens to expose your camera’s sensor, or “film” in the good ol’ days.
Large Hole = More Light
Small Hole = Less Light
Depending on the aperture size (measured in f-stops – I’ll explain these numbers more later) set in-camera, a specific amount of light will be allowed to come through the lens to hit your image sensor, which lives inside of your camera and operates like digital film to actually expose and capture your image.
Cool, right?!

A Comparison Worth “Seeing”
If you’re having trouble grasping this, aperture works similarly to how our eyes works! Our pupils adjust based on the light in the room to allow more or less light through.
You wake up in the middle of the night and need a midnight snack. Assuming you don’t turn on a light, your pupils become quite large so you can make your way out of the bedroom and into the kitchen.
The moment you open the fridge, the refrigerator light floods your eyes and your pupils quickly grow smaller to let less light in.
You’re driving on a bright, sunny day and don’t have sunglasses on. Your pupils will remain a bit smaller so you can see the road clearly, and your eyes are more protected from light damage.
The moment you go through a tunnel, your pupils will widen to let more light in through the fairly dark stretch, until you re-enter the daylight!
Our eyes are constantly adjusting automatically for us.
How nice! If only our camera could do the same…
Oh wait, it does! It’s called auto mode.
But wait David, I thought you once said that auto was the devil.
You’re a great listener. Auto IS the devil. Wanna know why?
Auto Vs Manual Mode
Every time you take a photo in automatic mode, your camera is making a bunch of decisions to get a balanced, or “correct” exposure based on what it thinks is “correct”. These decisions include:
ISO, aperture, and shutter speed make up the exposure triangle!

If you don’t understand the exposure triangle, scroll down to chapter 2 of my post on everything you could possibly need to know about aperture. There’s even a video in there with yours truly!
Okay, so the problem with allowing your camera to make all those decisions for you is…
You’re a lot smarter than your camera. You’re also a lot more creative than your camera!
A “correct” exposure is truly subjective, so it’s up to YOU to determine what settings you need to achieve the photos YOU want! In order to do this, you need to take manual control.
Make sense? Auto is the devil because it robs you of your creativity and delivers average (or less than average) photos. You’re better than that, and I’m here to teach you how to Show Your Camera Who’s Boss!
Okay, so I can’t leave all the decision-making to my camera because auto is the devil. How do I take manual control of my camera to adjust my aperture?
Changing Aperture On YOUR Camera
First things first.
Aperture is measured in number increments called f-stops. Each f-stop or “f” number indicates how small or large the hole is.
The trickiest part of this whole article is these aperture numbers are the exact opposite of what you would expect!

- The higher the f-stop or “f” number, the smaller the hole.
- The lower the f-stop or “f” number, the larger the hole.

I explain this a “hole” lot more in this article. Read the whole thing or head straight to Chapter 3.
I know you’re itching to know how to adjust the aperture on your camera. Here is an example for each of the three major camera brands on the market today:
Canon EOS Rebel T6
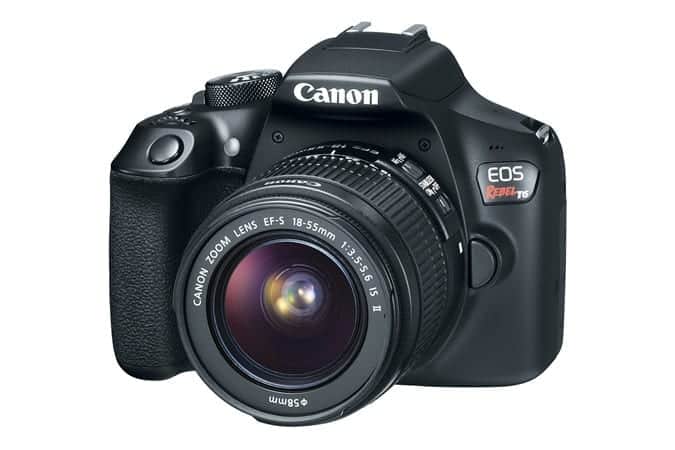
- Turn the dial on the top of your camera to manual mode (M).
- Hold down the AV +/- button to the right of your camera display.
- As you hold down that button, turn the control dial on the top of your camera to the right to get a higher f-stop/smaller hole, and to the left to get a lower f-stop/larger hole.
- Ready to learn more about this camera. Check out my review on the Canon EOS Rebel T6.
Nikon D3400

- Turn the dial on the top of your camera to manual mode (M).
- Hold down the +/- button on the top of your camera.
- As you hold down that button, turn the command dial to the right to get a higher f-stop/smaller hole, and to the left to get a lower f-stop/larger hole.
Sony a6000
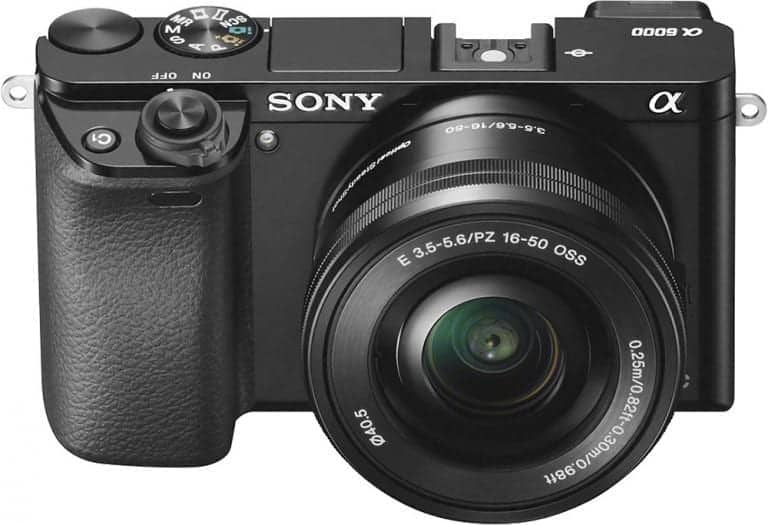
- Turn the dial on the top of your camera to manual mode (M).
- Hold down the AEL (Auto-Exposure Lock) button to the right of your camera display.
- As you hold down that button, turn the dial to the right to get a lower f-stop/larger hole, and to the left to get a higher f-stop/smaller hole.
Before we go, let’s highlight a recap:
- Aperture is the actual size of the hole inside your lens,
- which is controlled BY YOU (because auto is the devil), using your camera.
- You do this by manually setting your F-stop.
– The higher the F-stop number, the smaller the hole, the less light comes in.
– The lower the F-stop number, the bigger the hole, the more light comes in.
Now that you understand what aperture is on your camera, you’re probably ready to dive into how aperture works with ISO and shutter speed to get AMAZING photos. You’re in luck, because I have a free training that breaks everything down to get you shooting!
Dust off your camera and sign up for my free webclass HERE. See you there!