- Total631
- Facebook0
- Pinterest624
- Email7
How to Take Action Shots of Kids

Want to take some incredible action shots of kids? Whether it’s sports photos or just capturing kids at their energetic best, capturing kids in motion can be a lot of fun for both you and your subjects – just like that incredible photo above from my student Eileen!
Instead of making kids pose stiffly in the studio, taking action shots of kids lets your subjects be themselves – spontaneous and free. You’ll capture more genuine expressions than you do in the studio (often the children are so busy having fun they forget you’re even there.)
So whether you’re out to shoot sports, dance or just kids running around having fun, these action photography tips will help you get amazing results.
Think Like a Boy Scout When You're Photographing Children

A Boy Scout’s motto is “Always Be Prepared” and a photographer who wants to take action or sports photography images should follow their lead!
Decide ahead of time which lens to use – a fast prime like a 50mm f1.8 is a great choice.
Many kit lenses have maximum apertures of only f4-5.6. That's why it so it’s difficult to get the fast shutter speeds you need to freeze motion with these lenses.
The only other option to compensate for a lens like this is to bump up your ISO in order to shoot at faster shutter speeds. Of course this can introduce noise to your photos.
Use a Zoom Lens for Sports Photography
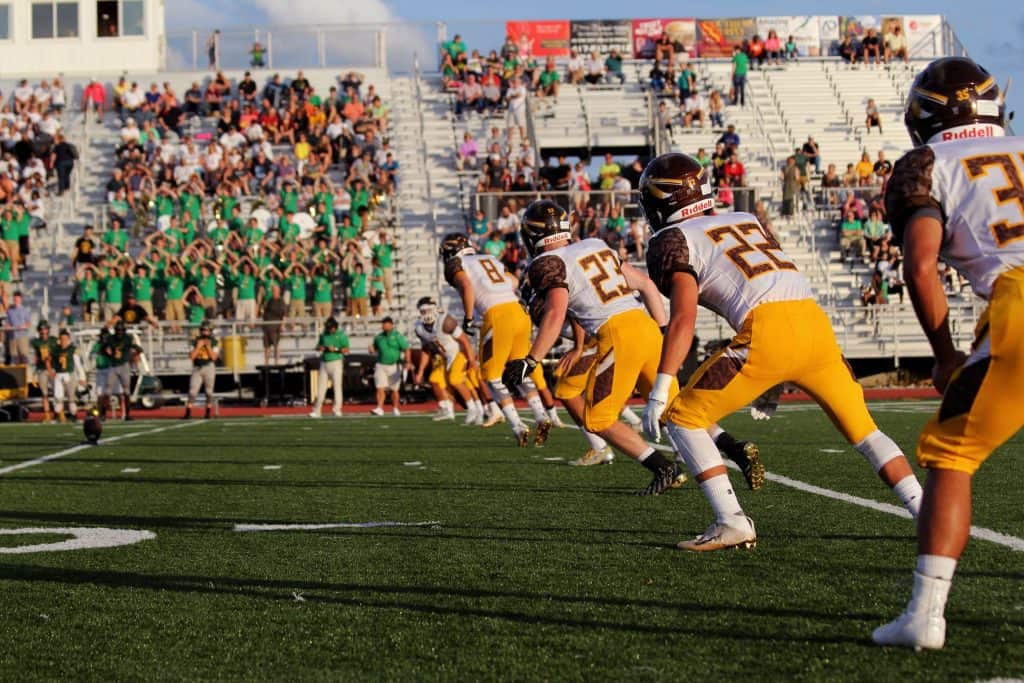
If you’re shooting sports in a stadium, naturally you’ll be further away from your subject. In this case a zoom lens is a huge help to help you capture the action.
If you can find one that opens up to an aperture of f2.8 or larger, you’ll get better results freezing motion than you will with zooms with maximum apertures of f4-5.6.
Make sure your memory card is formatted and your camera battery fully-charged before you leave for your shoot. You’ll miss out on too many great shots if you have to stop to change batteries or memory cards.
Lastly, clean your lenses and use a blower to remove any dust from your sensor for best results.
Take Your Session Outside Whenever You Can
Your young subjects will relax and be more spontaneous when you take your session outside the studio. What self-respecting kid wants to sit still indoors if they could be running and jumping outdoors instead?
Try to find an open, evenly-lit area for your session. Parks are lovely settings; however, heavily treed areas can cast uneven light that leads to blotchy faces. So be aware of this before you choose your location.
You’ll spend a lot of time trying to correct the results of uneven lighting in post-processing so why not try to avoid it in the first place?
The Playground is a Great Location Choice for Your Session
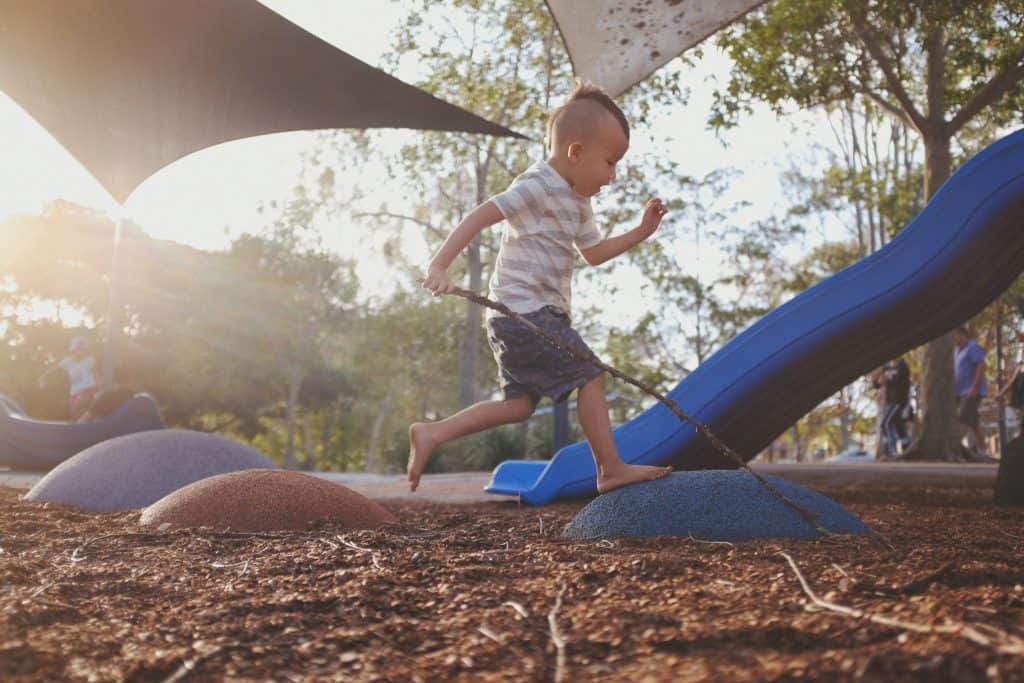
Playgrounds are excellent locations to capture action shots of kids, as there is no shortage of equipment to jump on, run around and climb on.
Plus playground equipment really shows off kids in motion, and isn’t that the entire point?
Kids love to explore and challenge each other at the playground, so you’ll be sure to capture some amazing candid shots.
Timing is Everything
Many children are at their best in the morning after breakfast when they are well-rested and their tummies are full, so plan accordingly. If your session overlaps their regular naptime, it can spell disaster. When children get overtired and hungry, sessions end in tears and tantrums.
Not a fun experience for the kids, their parents or for you! Be sure to ask the parents ahead of time when the best time to schedule the shoot would be.
Always ask parents to bring along a nutritious snack for the kiddies to keep their energy levels and spirits high. A change of clothes and some wipes are also a good idea, as active play can result in some tumbles in the grass and dirt.
While this isn’t necessarily a bad thing in my opinion, the children’s parents might not appreciate it if all the photos feature grubby kids!
Avoid shooting at midday whenever possible. The bright light makes children squint and casts harsh shadows across their little faces.
If you have no other option other than to shoot in the middle of the day, be sure to add a little fill light from a speed light or strobe to overcome the shadows.
Shoot From a ‘Kid's Eye' Perspective
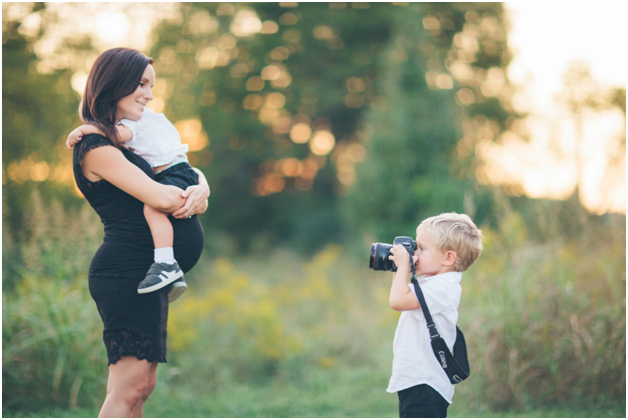
Kids love to crawl and roll around on the ground. They also love to inspect bugs, flowers and grass, and splash through puddles, so crouch down and get them in action!
Portraying children through their perspective of the world helps show their sense of wonder and curiosity in your photos.
So don’t stand there like a statue!
Get down on your knees, or even sit on the ground to get down to the kids’ level.
Getting down with the kids makes you seem less ‘big’ and intimidating for the kids too, so they’ll be more inclined to relax around you.
You can also let the child take a few shots to make them familiar with the camera, too!
Try Shutter Priority Mode
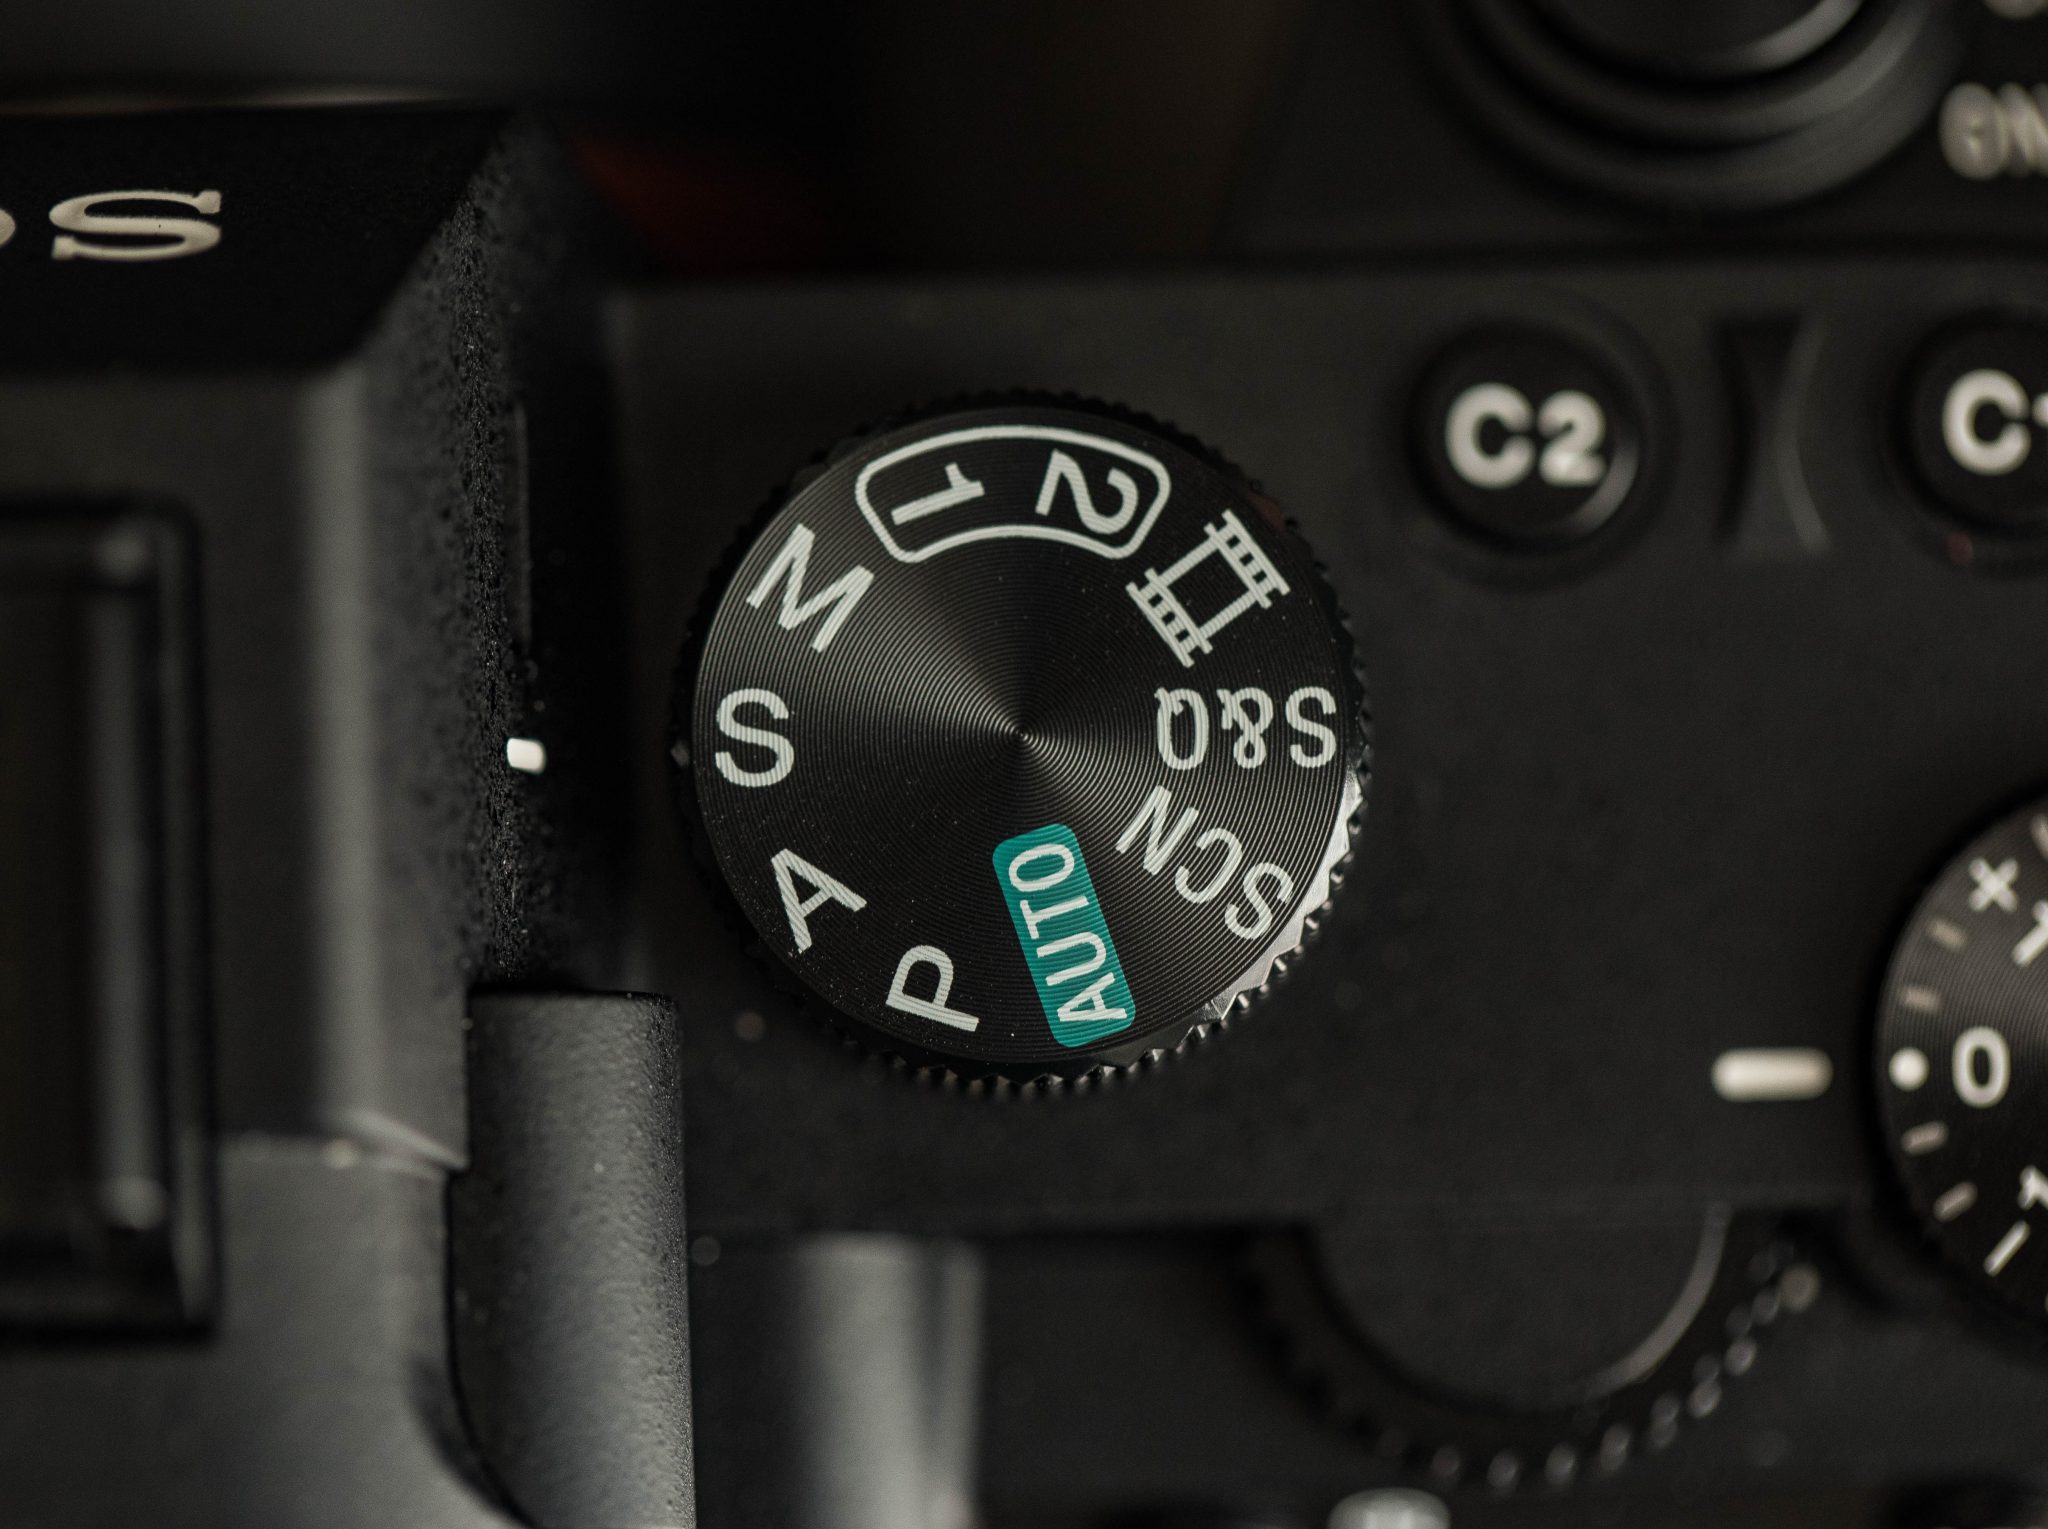
If you’re 100% comfortable shooting in manual mode, by all means, go for it.
But if you want to focus more on capturing your active subjects than on changing camera settings, shutter priority is the way to go. (Sony, Canon, and Nikon all denote shutter priority mode with an ‘S' on the dial.)
In this semi-automatic mode, you take care of the shutter speed and the camera will takes care of your aperture and ISO settings automatically.
When I want to freeze motion in photos of kids running around having fun, I start with a shutter speed of 1/250 and check for motion blur. If I see motion blur at this speed I keep going up a stop until I successfully freeze motion.
Continuous Focus Mode
Along with putting my camera into shutter priority, I also use continuous focus mode whenever I take action shots of kids. (This is AF-C on a Nikon, and Al Servo for Canon shooters.)
This focus mode helps keep your subjects in sharp focus as they move in and out of your viewfinder. Continuous focus mode also uses quite a bit of extra battery power as the camera continually focuses and refocuses on your subject.
That’s why you need to come prepared with a fully charged battery and a backup in your camera bag!
I also set my camera to continuous burst mode where the camera keeps shooting as long as the shutter release is held down.
Kids move quick, and burst mode will help you capture those incredible shots.
Advanced Technique: Panning
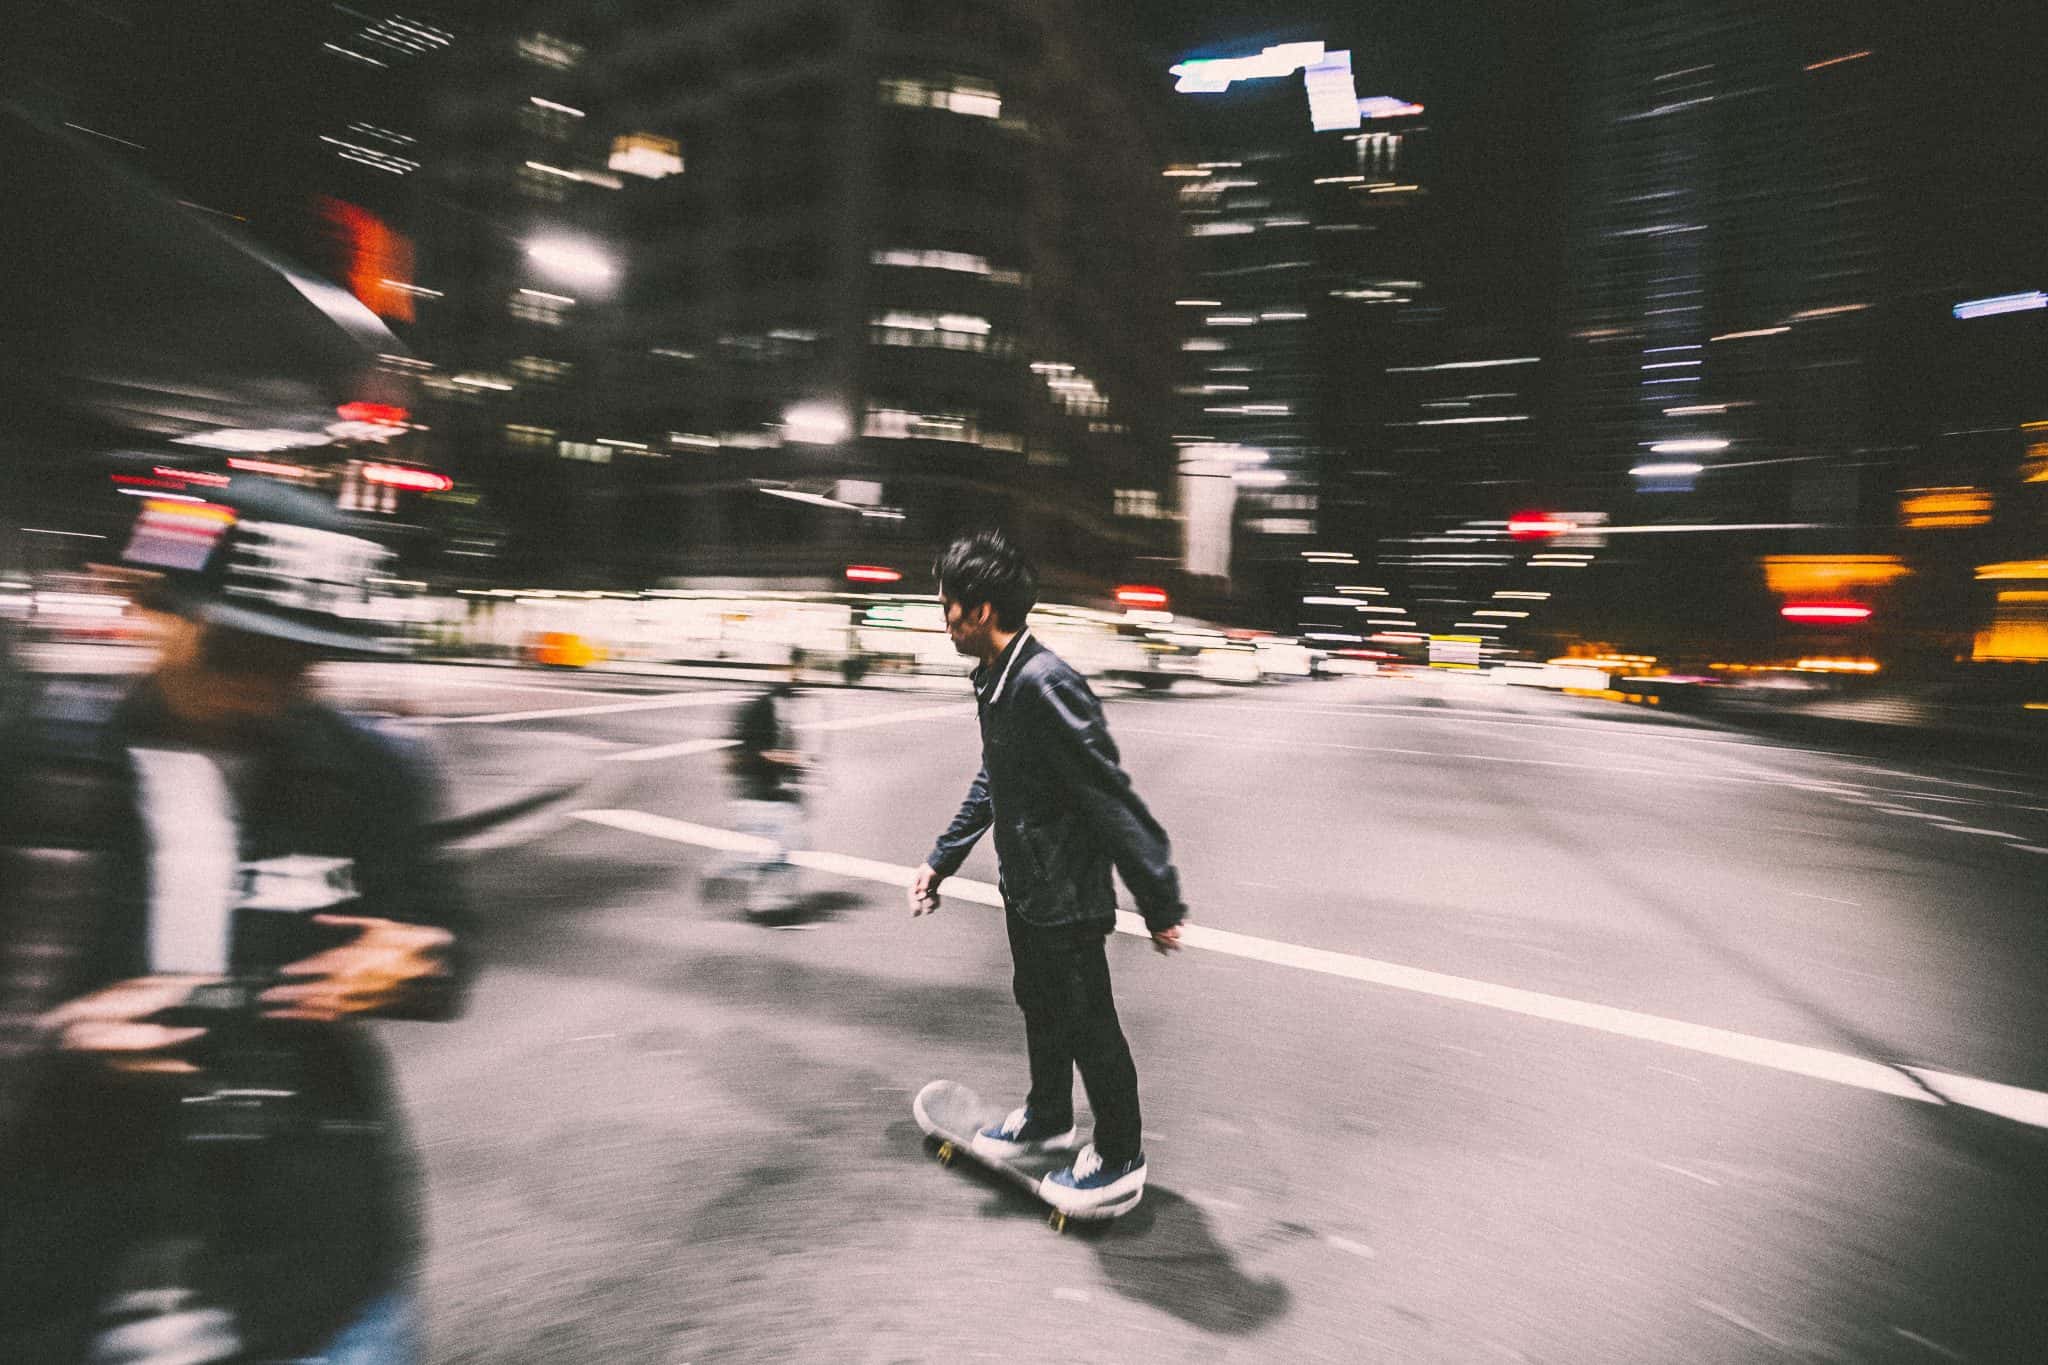
If you want some shots that really stand out, try adding some panning to your session.
Panning is a technique where the photographer sets the camera to a slow shutter speed and moves the camera to track a fast moving object. This technique creates a subject that is relatively sharp, along with a blurred background that conveys motion.
Panning is a popular technique for fast-action sports like motor sports, cycling, skiing and skating.
Start off in shutter priority mode. Your shutter speed will need to be somewhere between 1/30 and 1/125 – the faster the subject, the faster the shutter speed you need for success with the technique.
How to Minimize Camera Shake When Panning
To minimize camera shake, and up-and-down motion, put your camera on a tripod or monopod.
This allows you to smoothly pan from left-to-right or right-to-left, depending on where your subject enters your frame. Whenever your camera is on a tripod, always turn off image stabilization (vibration reduction on a Nikon.) Leaving it on when your camera is on a tripod can introduce unintended camera shake.
As mentioned in the earlier section of this post, be sure to have your camera set to continuous focus and burst shooting modes.
Keep some distance between yourself and the subject, as it’s harder for your camera to focus when your subject is close and moving.
Move smoothly with your subject as they move through your frame. Press the shutter release only when the subject is parallel to your camera.
Would You Like to Learn More About Camera Modes ?
In this article I mentioned some camera modes like shutter priority, continuous focus and burst mode.
If you're a newer photographer, you might need a little help understanding what all these mean.
I’d love to give you a FREE camera training session you can follow along with on your own camera! Join me on my next training!
I promise that by the end of it, you’ll finally feel confident about changing your camera settings.
Register by clicking the button on the image below.
- Total631
- Facebook0
- Pinterest624
- Email7





21 thoughts on “How to Take Action Shots of Kids”
some really good tips!! I love my camera but don’t know how to do it!! so I stay on auto sorry!! Not sure why I am having a hard time with the concept. I need this for dummies!!!
Thanks for stopping by Teresa! If you haven’t already checked out my free training listed directly above, that may help! I also have other blog posts that may help you as well. You can do it! I believe in you! 🙂
I usE my phone…
Id like to learn the basics on tiny square one, see different tricks people do their set up….i.e., how & watch to use…tripod
What tools to create different ways to film regarding wgat u R doing in the video
Hi Keldoll! Thank you for stopping by and for letting me know! I will make note of interest in those topics 🙂
Hi David. I have been playing around with photography for quite some time. I never really learned the proper way to shoot thought. I need some lessons with some little bit older camers. I have a Canon powerShot SX50HS and a Canon EOS 20D. Can you help me?
Amanda, the Canon PowerShot is more of a point and shoot camera. The Canon EOS 20D is an older model DSLR camera. You can use that to start with and my courses can help you learn to shoot in manual mode and grow from there. I’d love to have you join our family at davidmolnar.com
This is a fantastic article! Thank you so much for sharing!
Thank you so much Judy! It’s my pleasure! 🙂
This is great information, thank you!
Question about the shutter speed… You mentioned that it needs to be faster to capture faster action. Does this mean if I have it set at 1/250 and there’s blur, I would bump it to 1/500 or 1/125? (I’ve never been great with math)
I needed this and glad to see that you put this out here for people getting started. Thanks for sharing!
You’re so very welcome Elaine! So glad you found it to be helpful!
Thank you! Exactly what I needed for today’s photos. Here’s to a great photo shoot outdoors!
You’re very welcome! I hope you had a wonderful shoot Gwyn!
Thanks for this article. The timing was perfect. I took some pictures this weekend of my granddaughter and couldn’t get her frozen. I was using manual with a 50mm 1.4 lens at 640 shutter and I was indoors with a rainy day and had to bump my ISO to 2000. Very frustrated!
Thanks
My pleasure Kim! I’m so sorry to hear that! Shooting indoors in low light is very tricky! Higher ISO numbers can produce grainy images but sometimes high ISO numbers are necessary in low like situations. Slower shutter speeds allow more light to enter your camera but may make motion appear blurry. Using a small f-stop number (like you were) will also help more light to enter your camera. It’s truly a balancing act to find the settings that work best in your situation. You’ve got this Kim!
This article was so helpful and exactly what I needed today.
Great article. I especially liked the point regarding tripod use and image stabilization. I believe that has been my problem. So now I have something to fix.
So glad you enjoyed it and found it to be helpful Karen! 🙂
Great article! The tip on the continuous focus mode is one I forget about. Thank you!!!
You’re very welcome Linda! So glad you found it to be helpful!
I took David Molnars free classes and enjoyed them also learned a lot. So I subscribed to all his classes.